How to Create Your Own Feature Classes

Touch GIS blog header that says “Creating Feature Class Datasets” with a photo of My Feature Dataset in the options panel

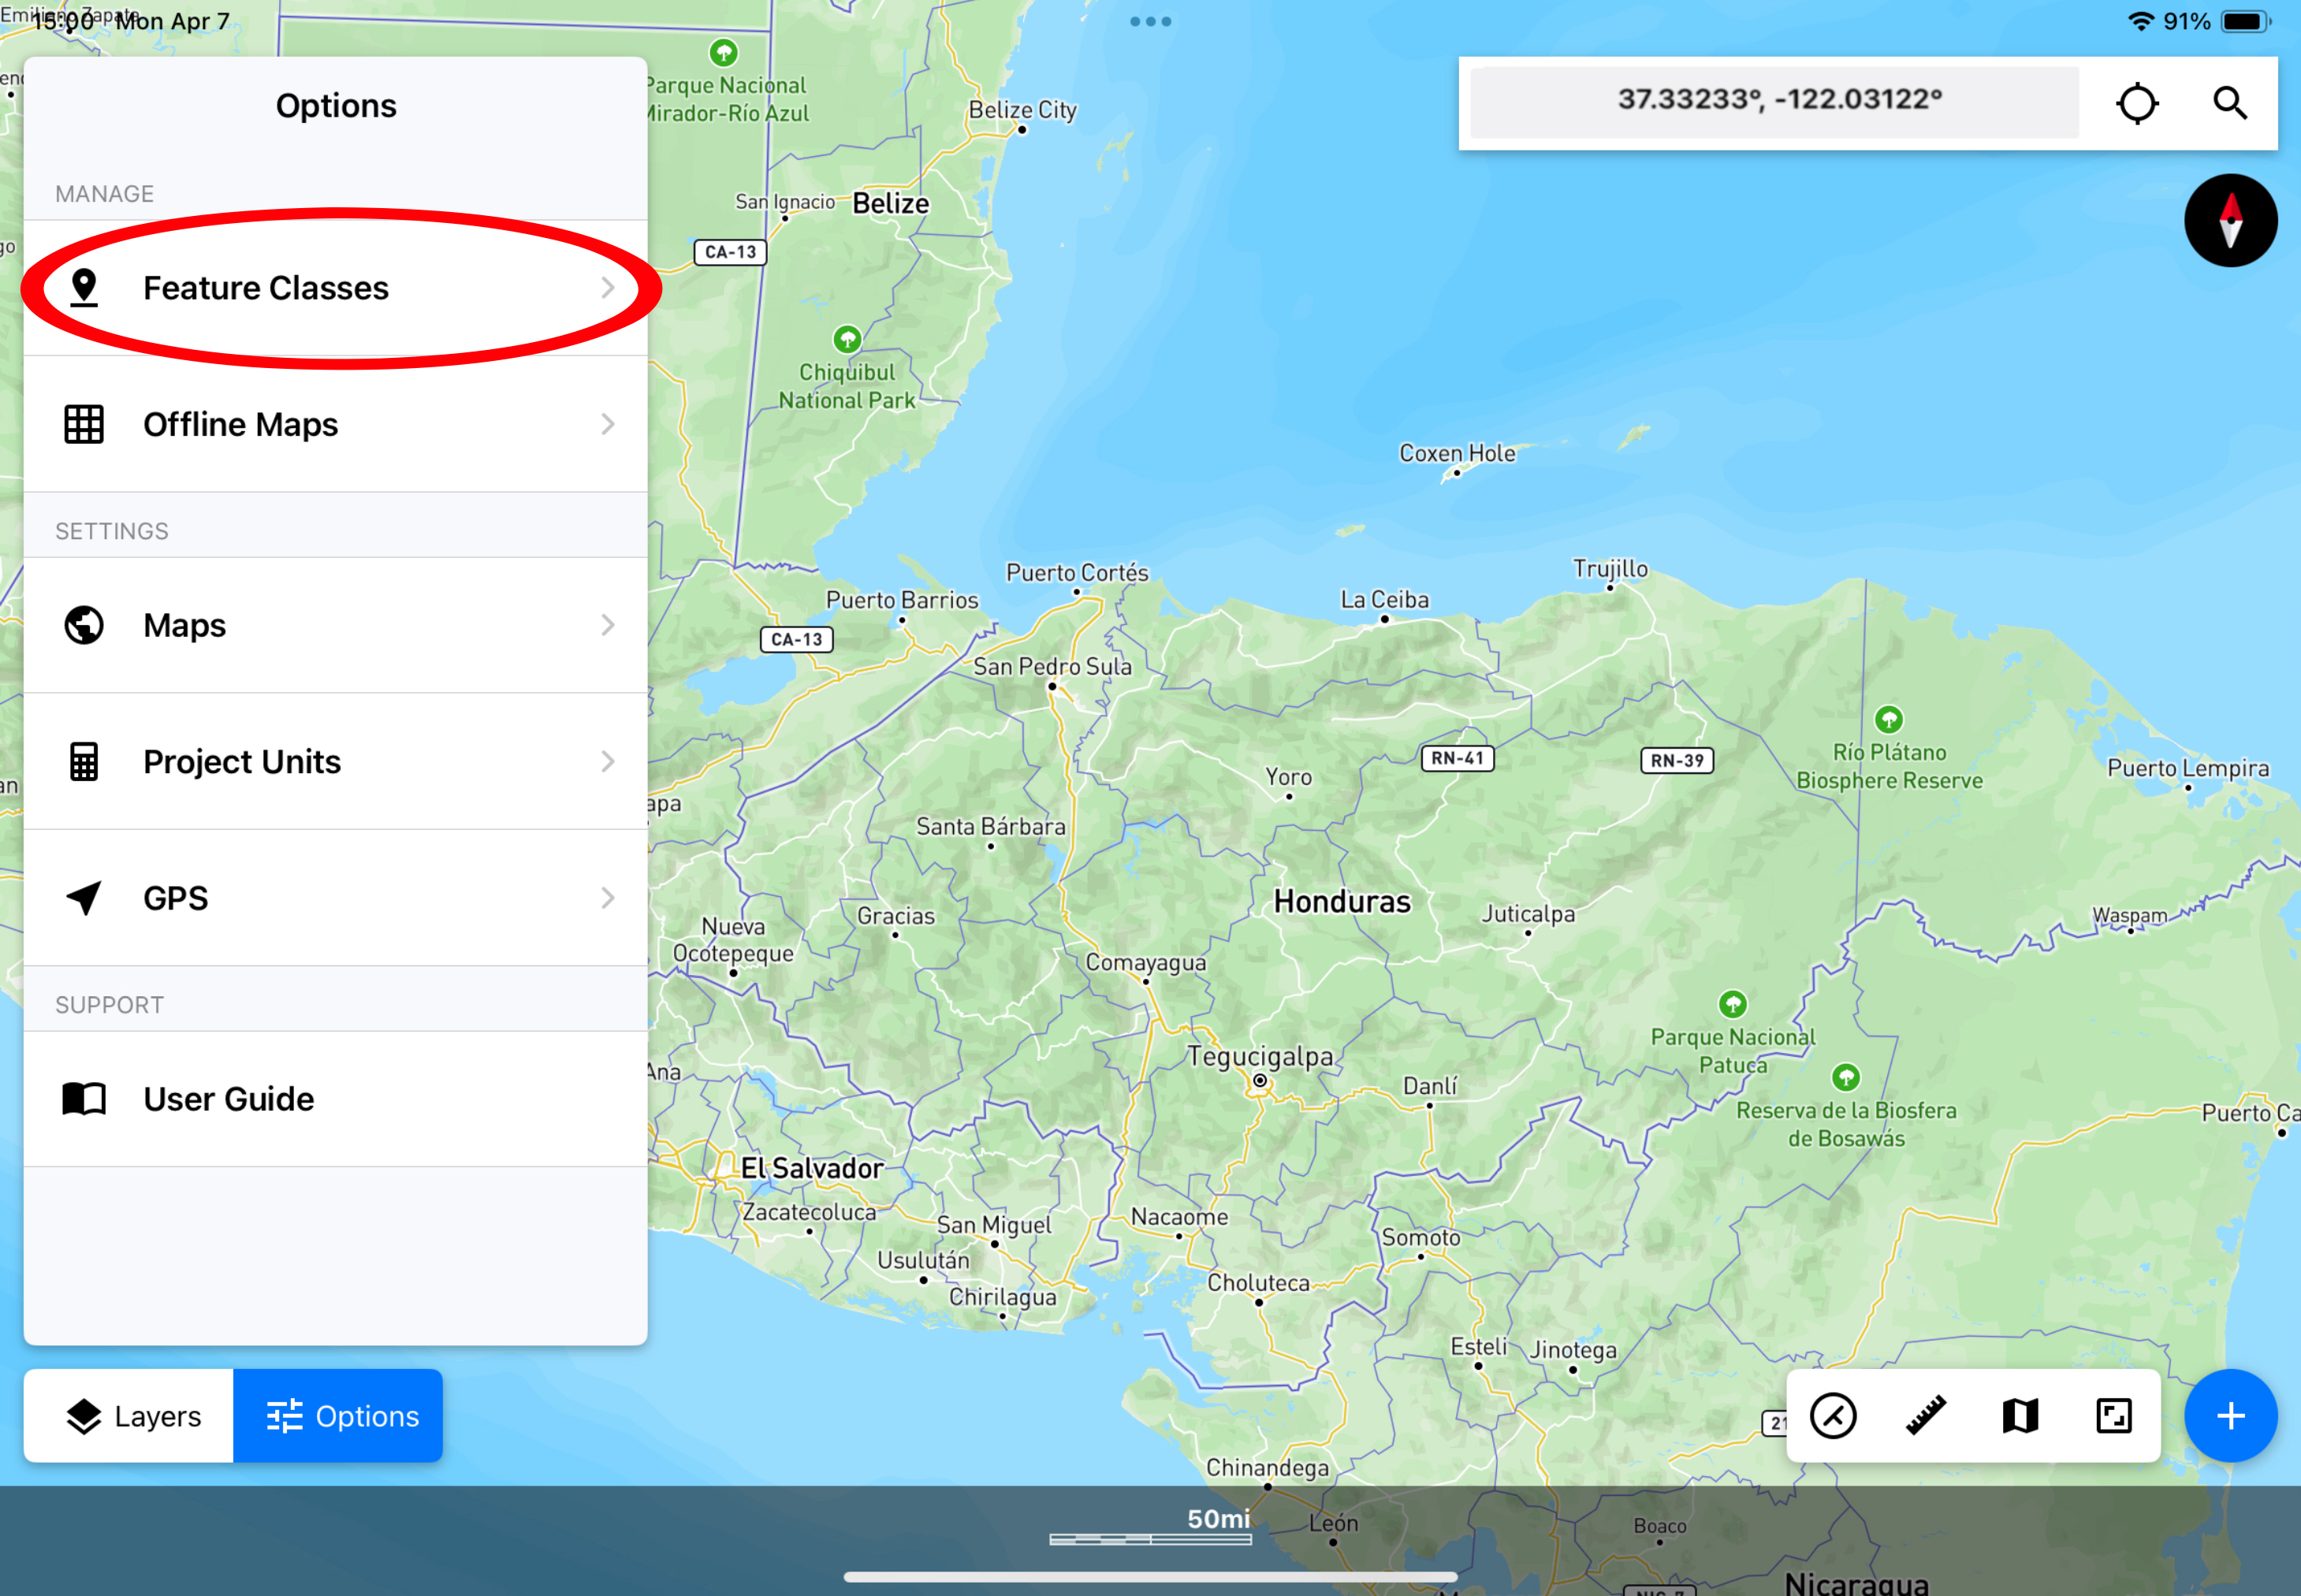
Feature Class Datasets are like folders for Feature Classes. While there are many different types of feature class datasets and feature classes already available to choose from in Touch GIS, you can also make your own custom feature classes for your project. To begin, navigate to the project where you want to make the custom feature class and tap “Feature Classes” in the Options panel.

Screenshot of the Touch GIS interface with “Feature Classes” circled in the Options Panel
Tap “Feature Classes” to choose from already existing feature classes or to create your own custom feature class.

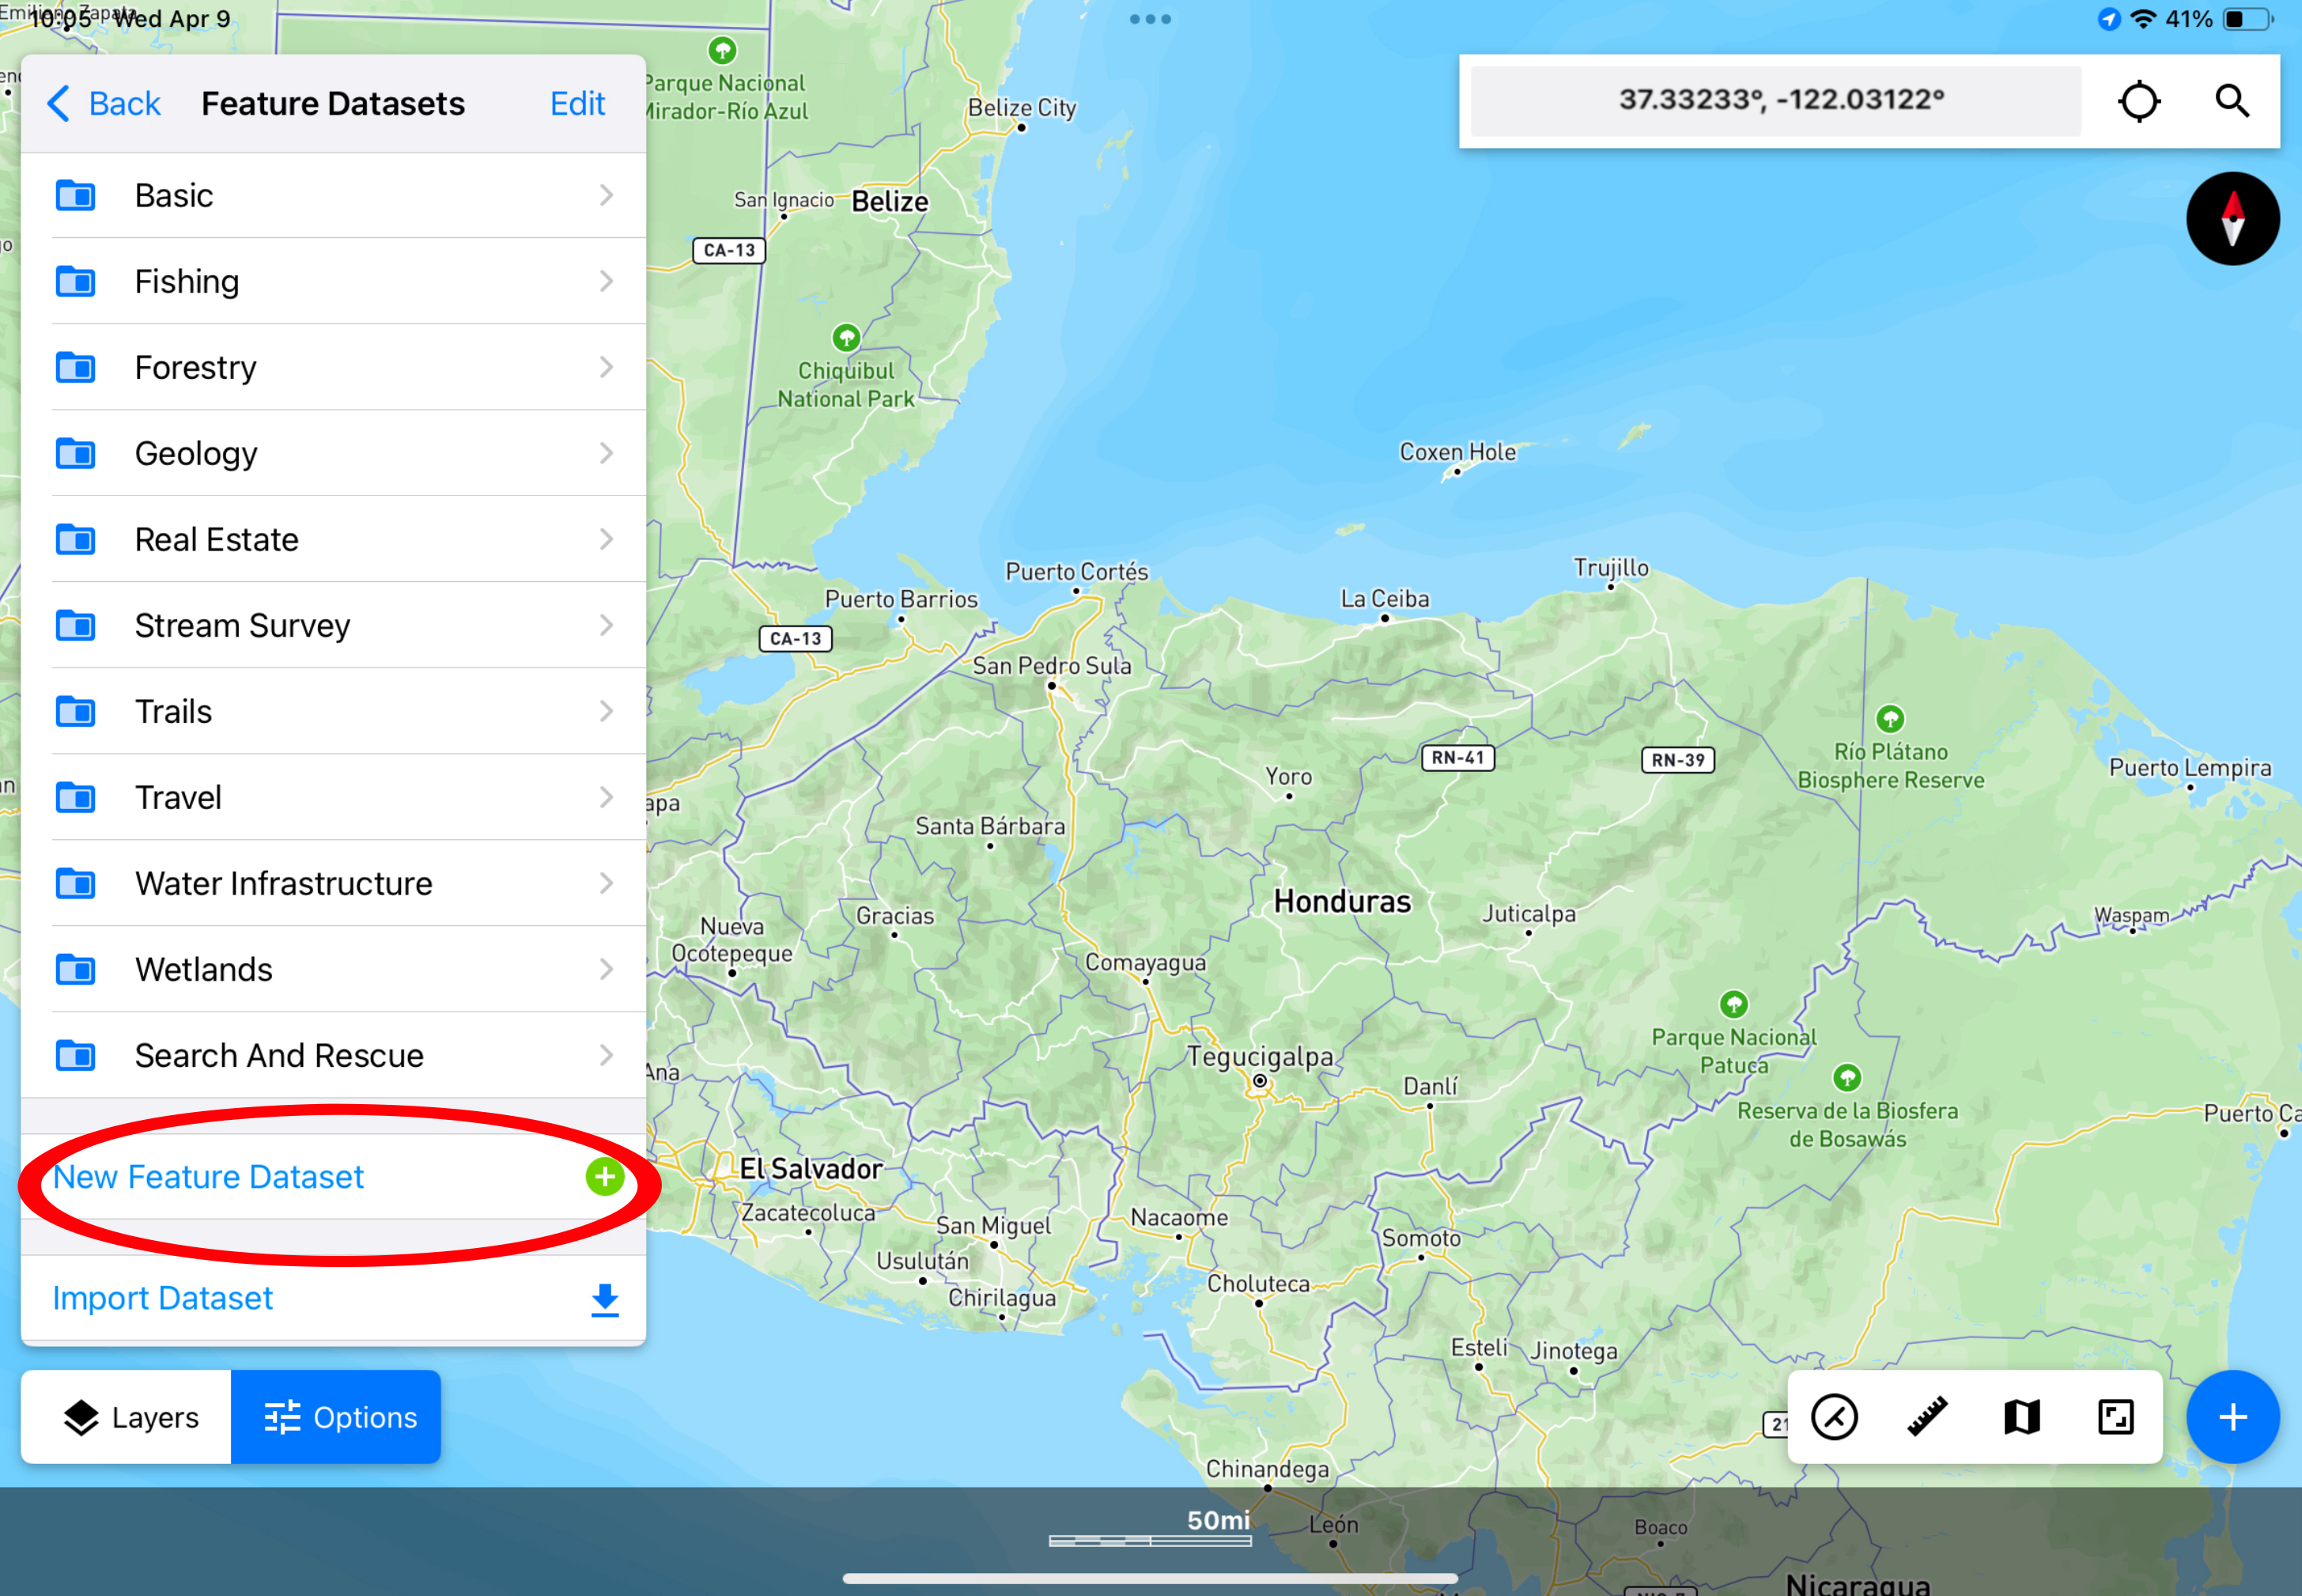
This will show a list of the already existing Feature Datasets. To create your own, tap “New Feature Dataset” at the bottom of the panel.

Screenshot of Touch GIS interface with “New Feature Dataset” circled in the options panel
Tap “New Feature Dataset” to create your own feature class from scratch.

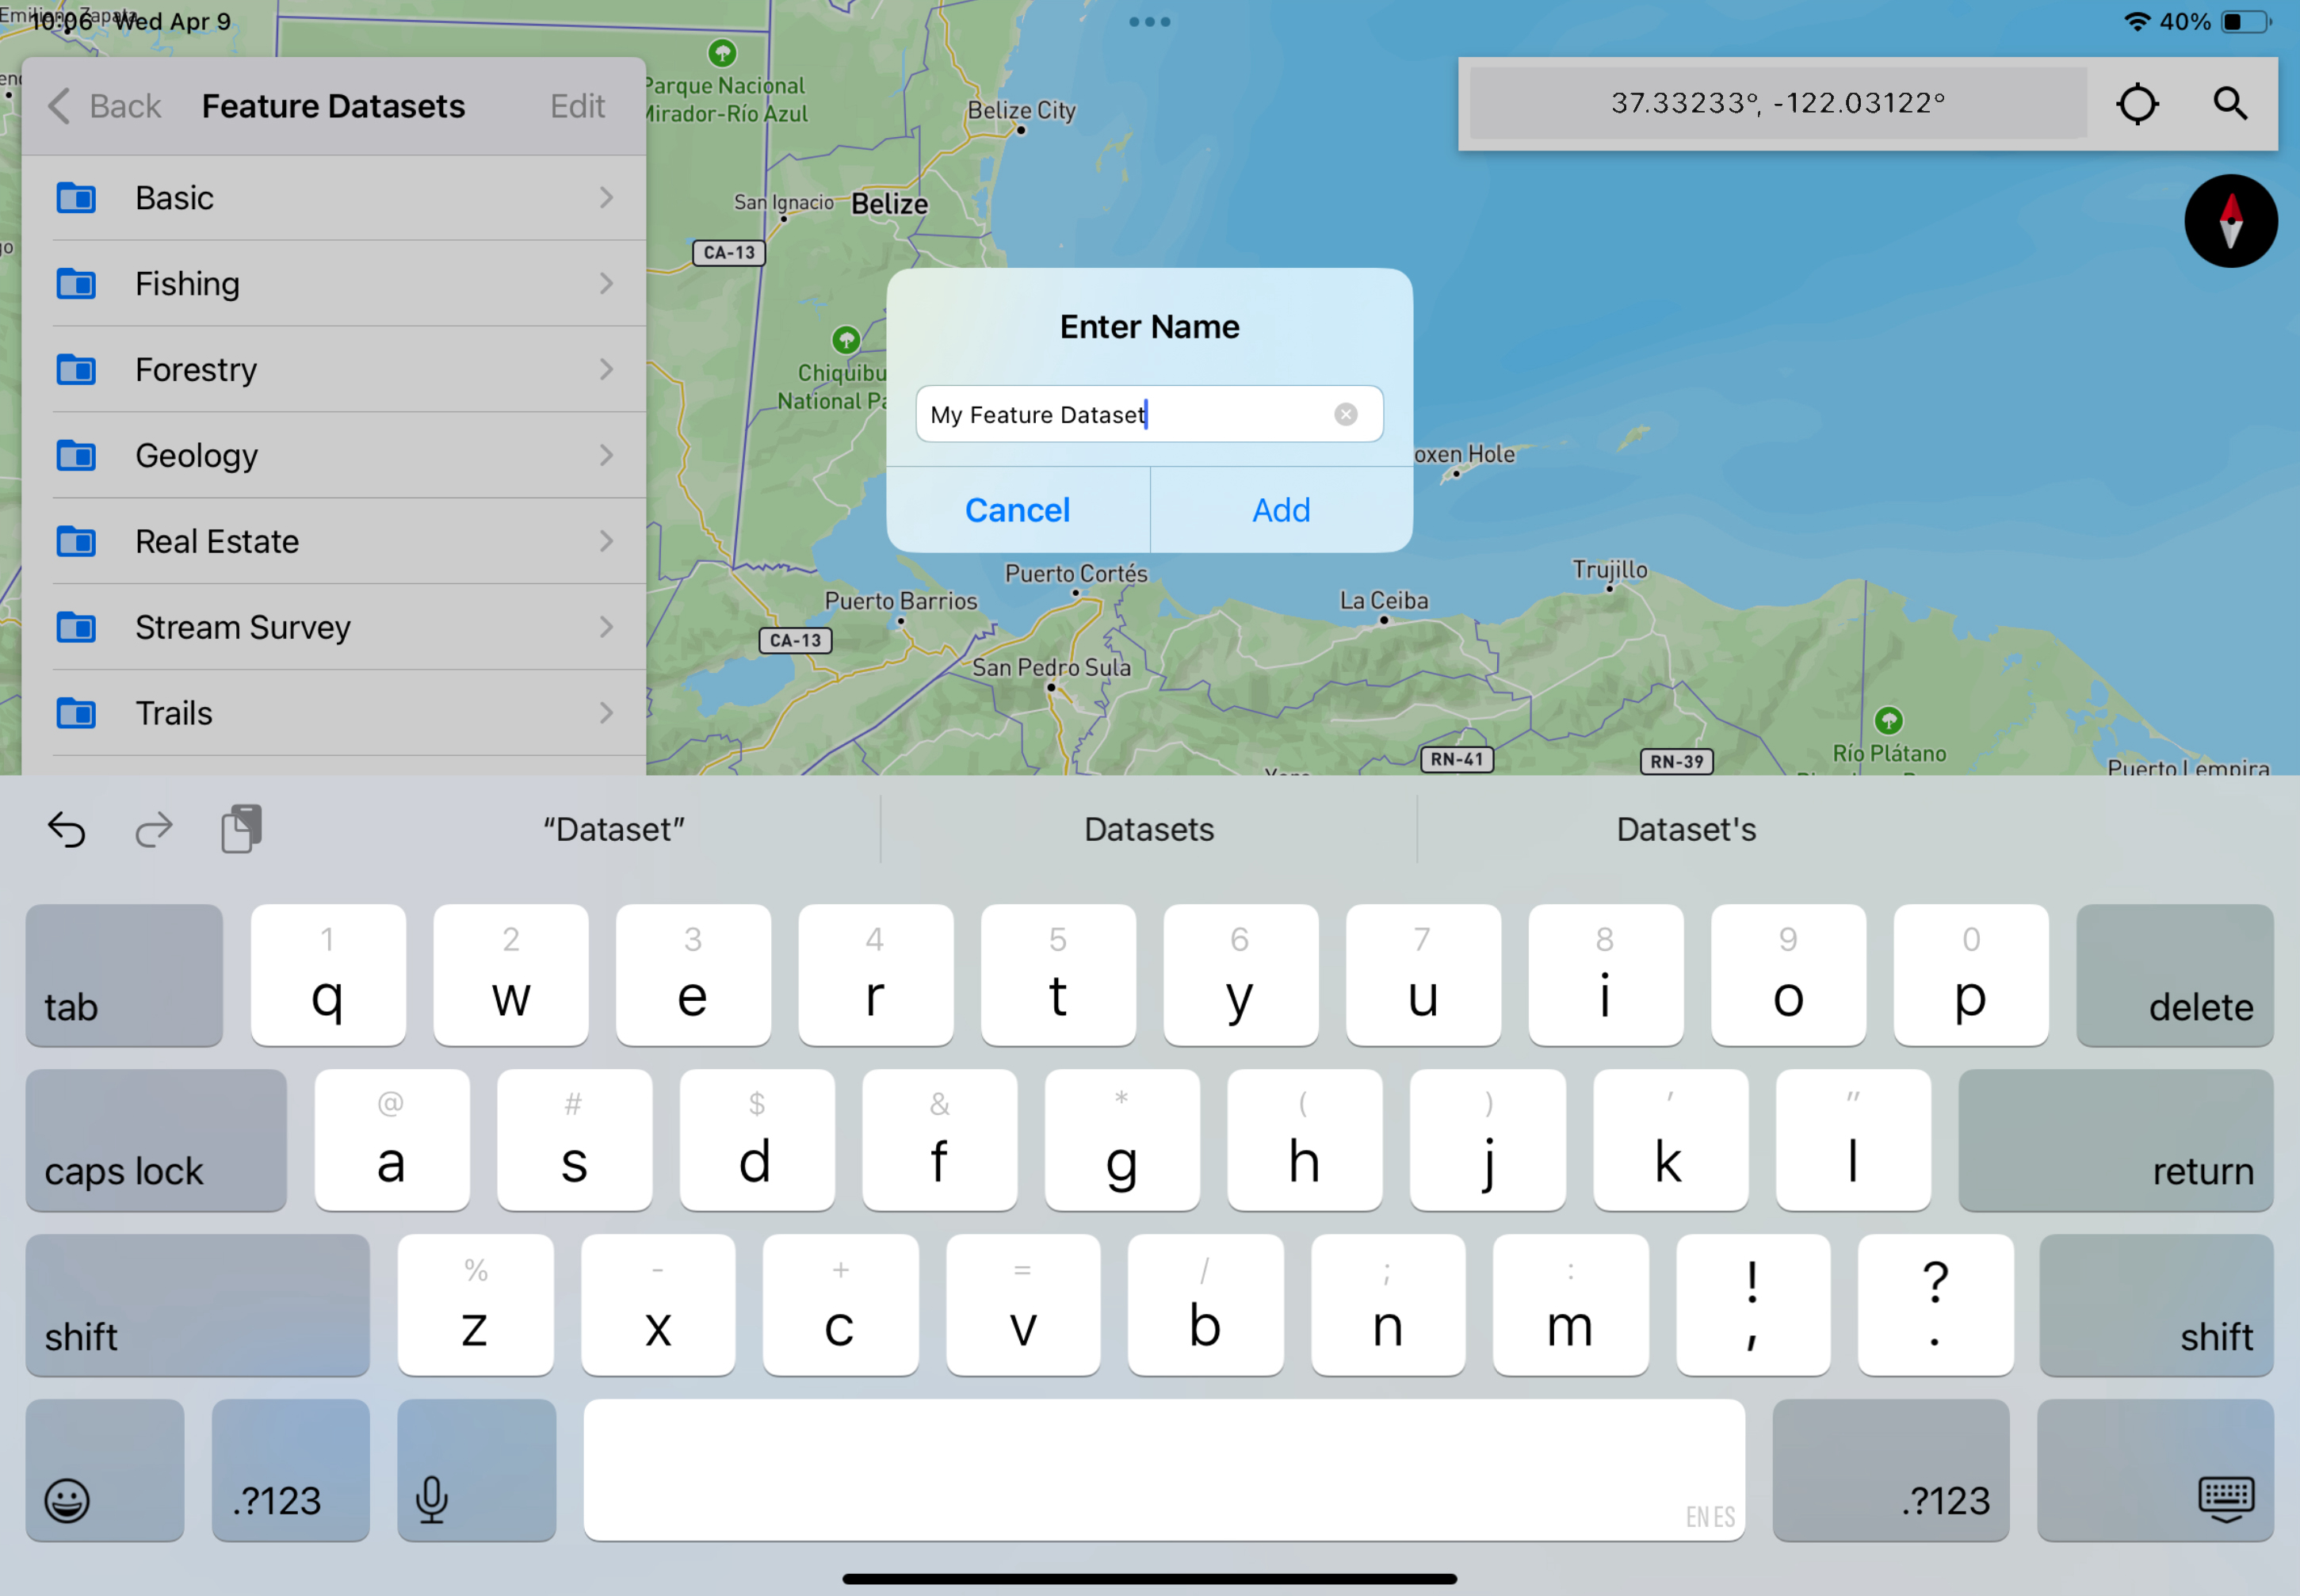
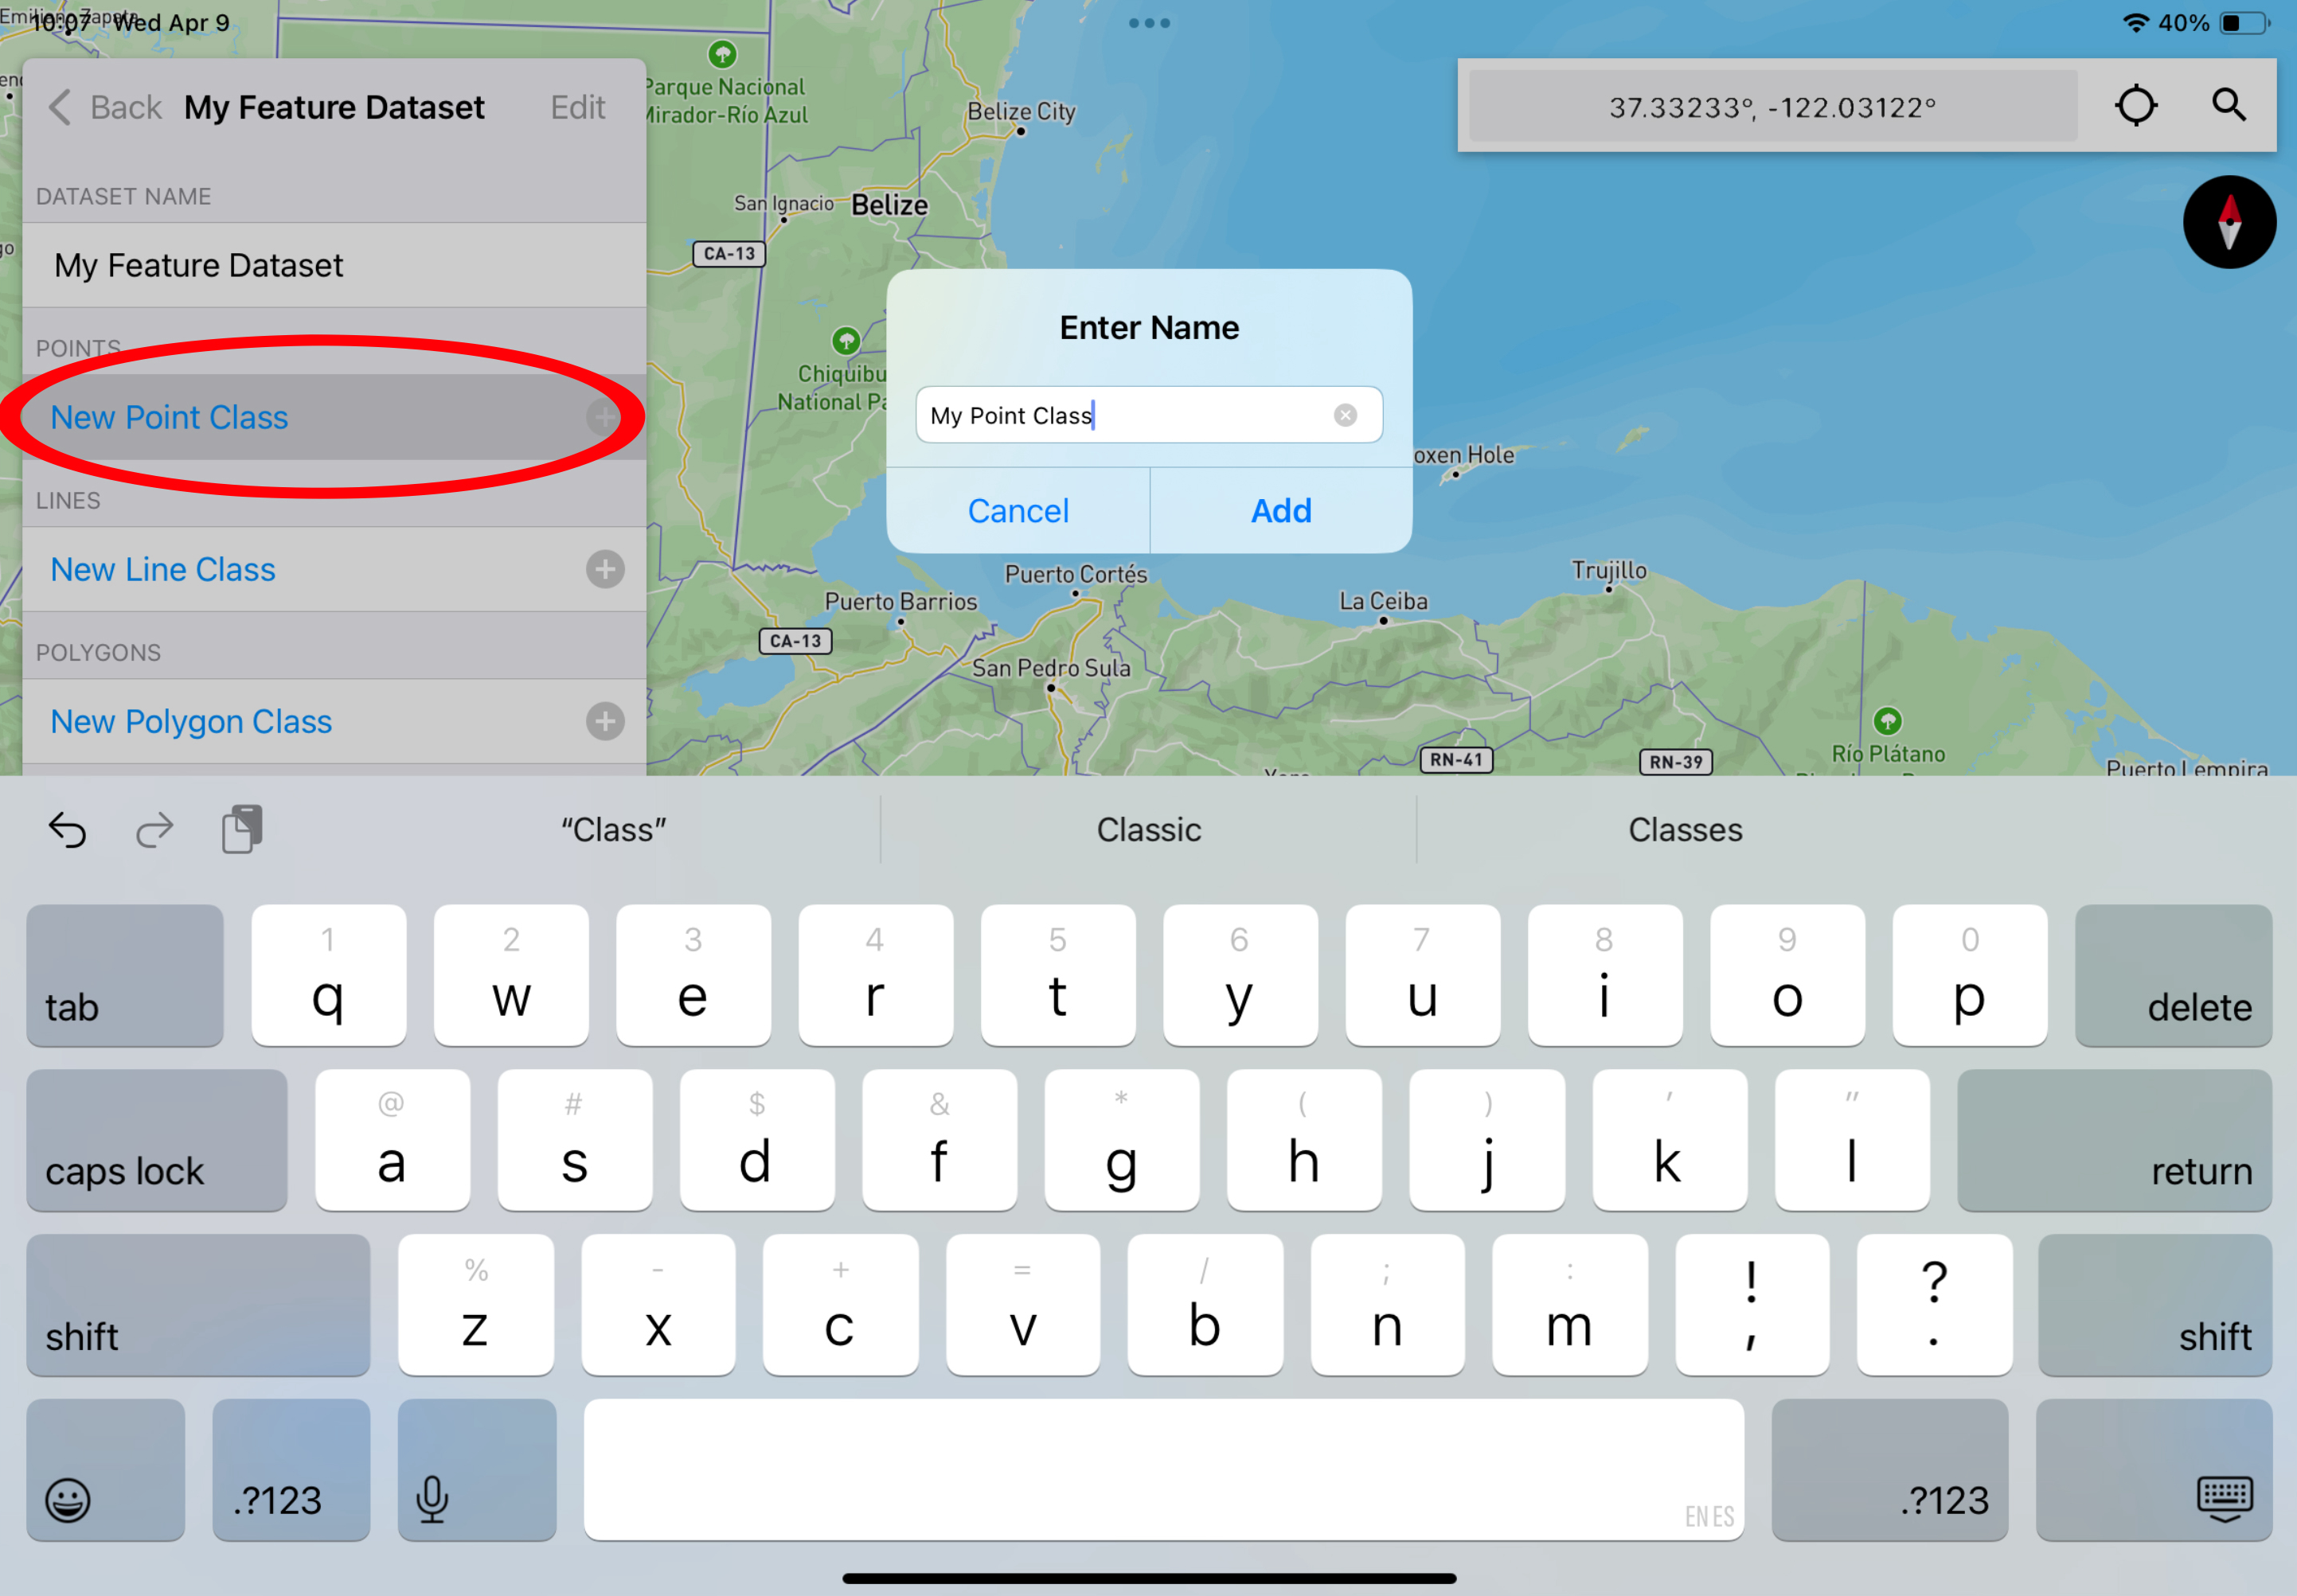
Once you give your feature class dataset a name, it will open in the Options Panel. Here you can add custom Point, Line, Polygon, or Circle Feature Classes to the set.

Screenshot of Touch GIS interface showing an “Enter Name” dialogue box with “My Feature Dataset” text input
Name your custom feature dataset to get started.
Screenshot of Touch GIS interface with custom feature dataset called “My Feature Dataset” showing in the Options Panel
Once you’ve named your custom feature dataset, tap to add Point, Line, Polygon, or Circle Classes.

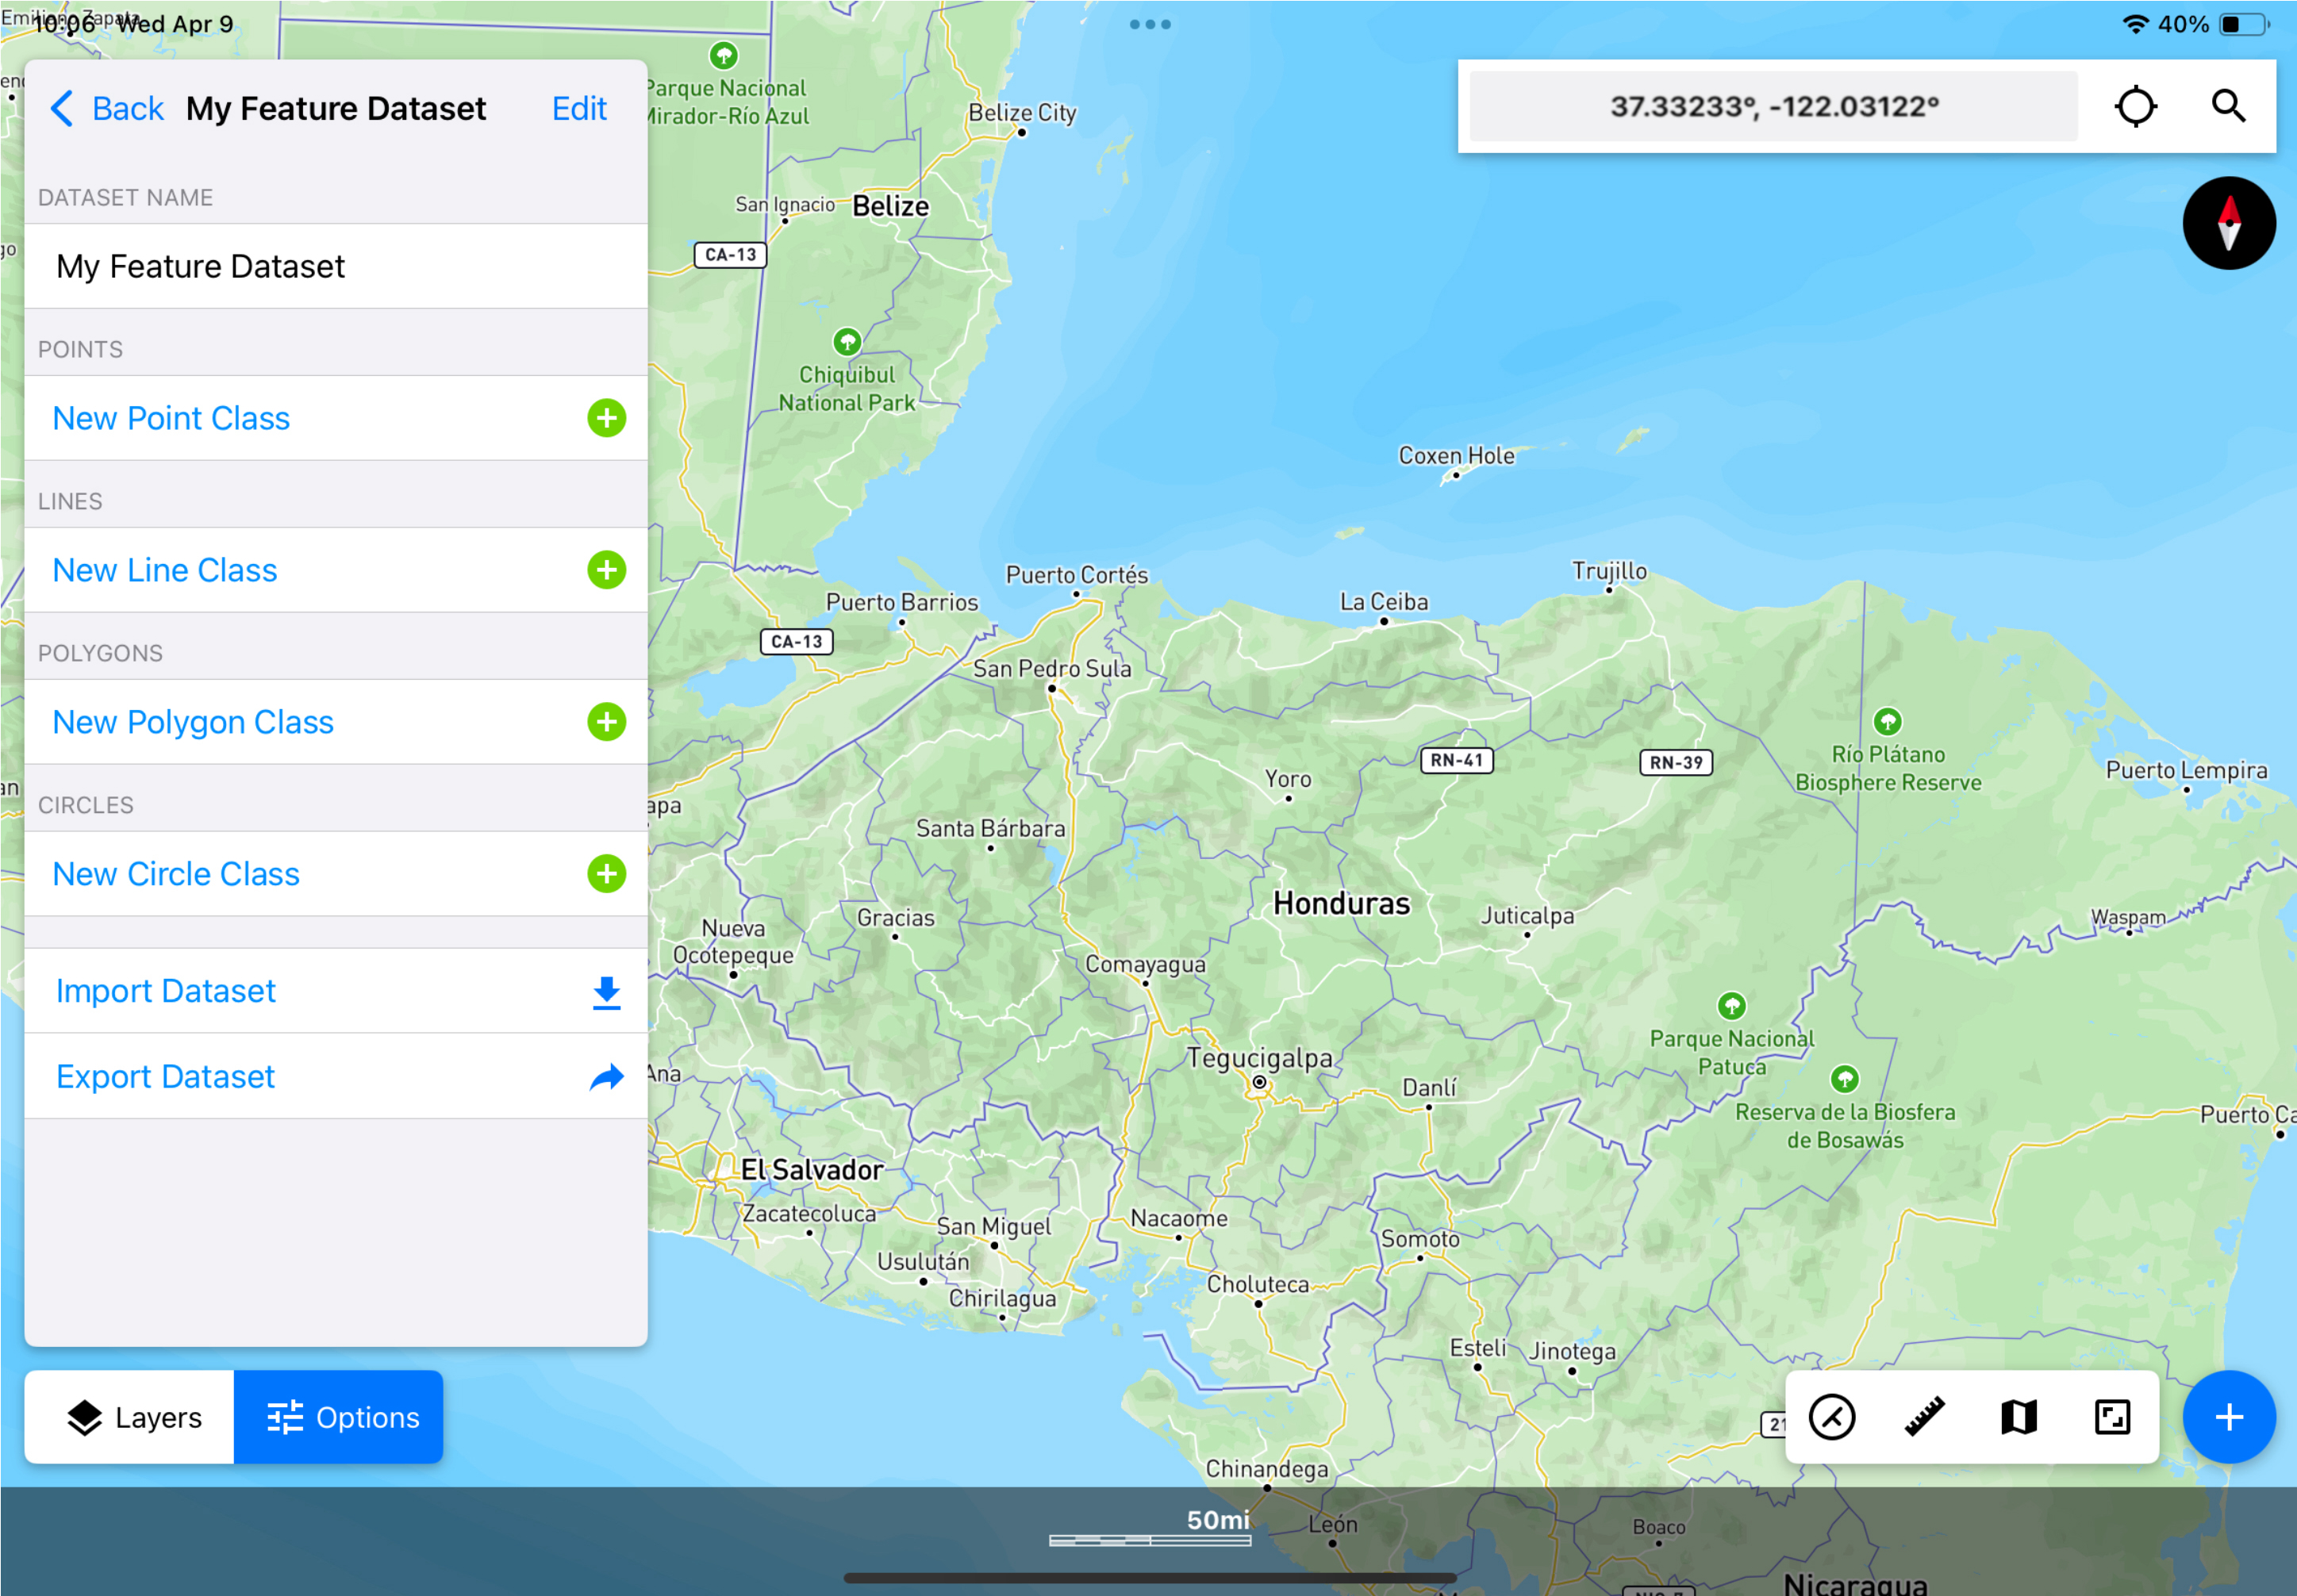
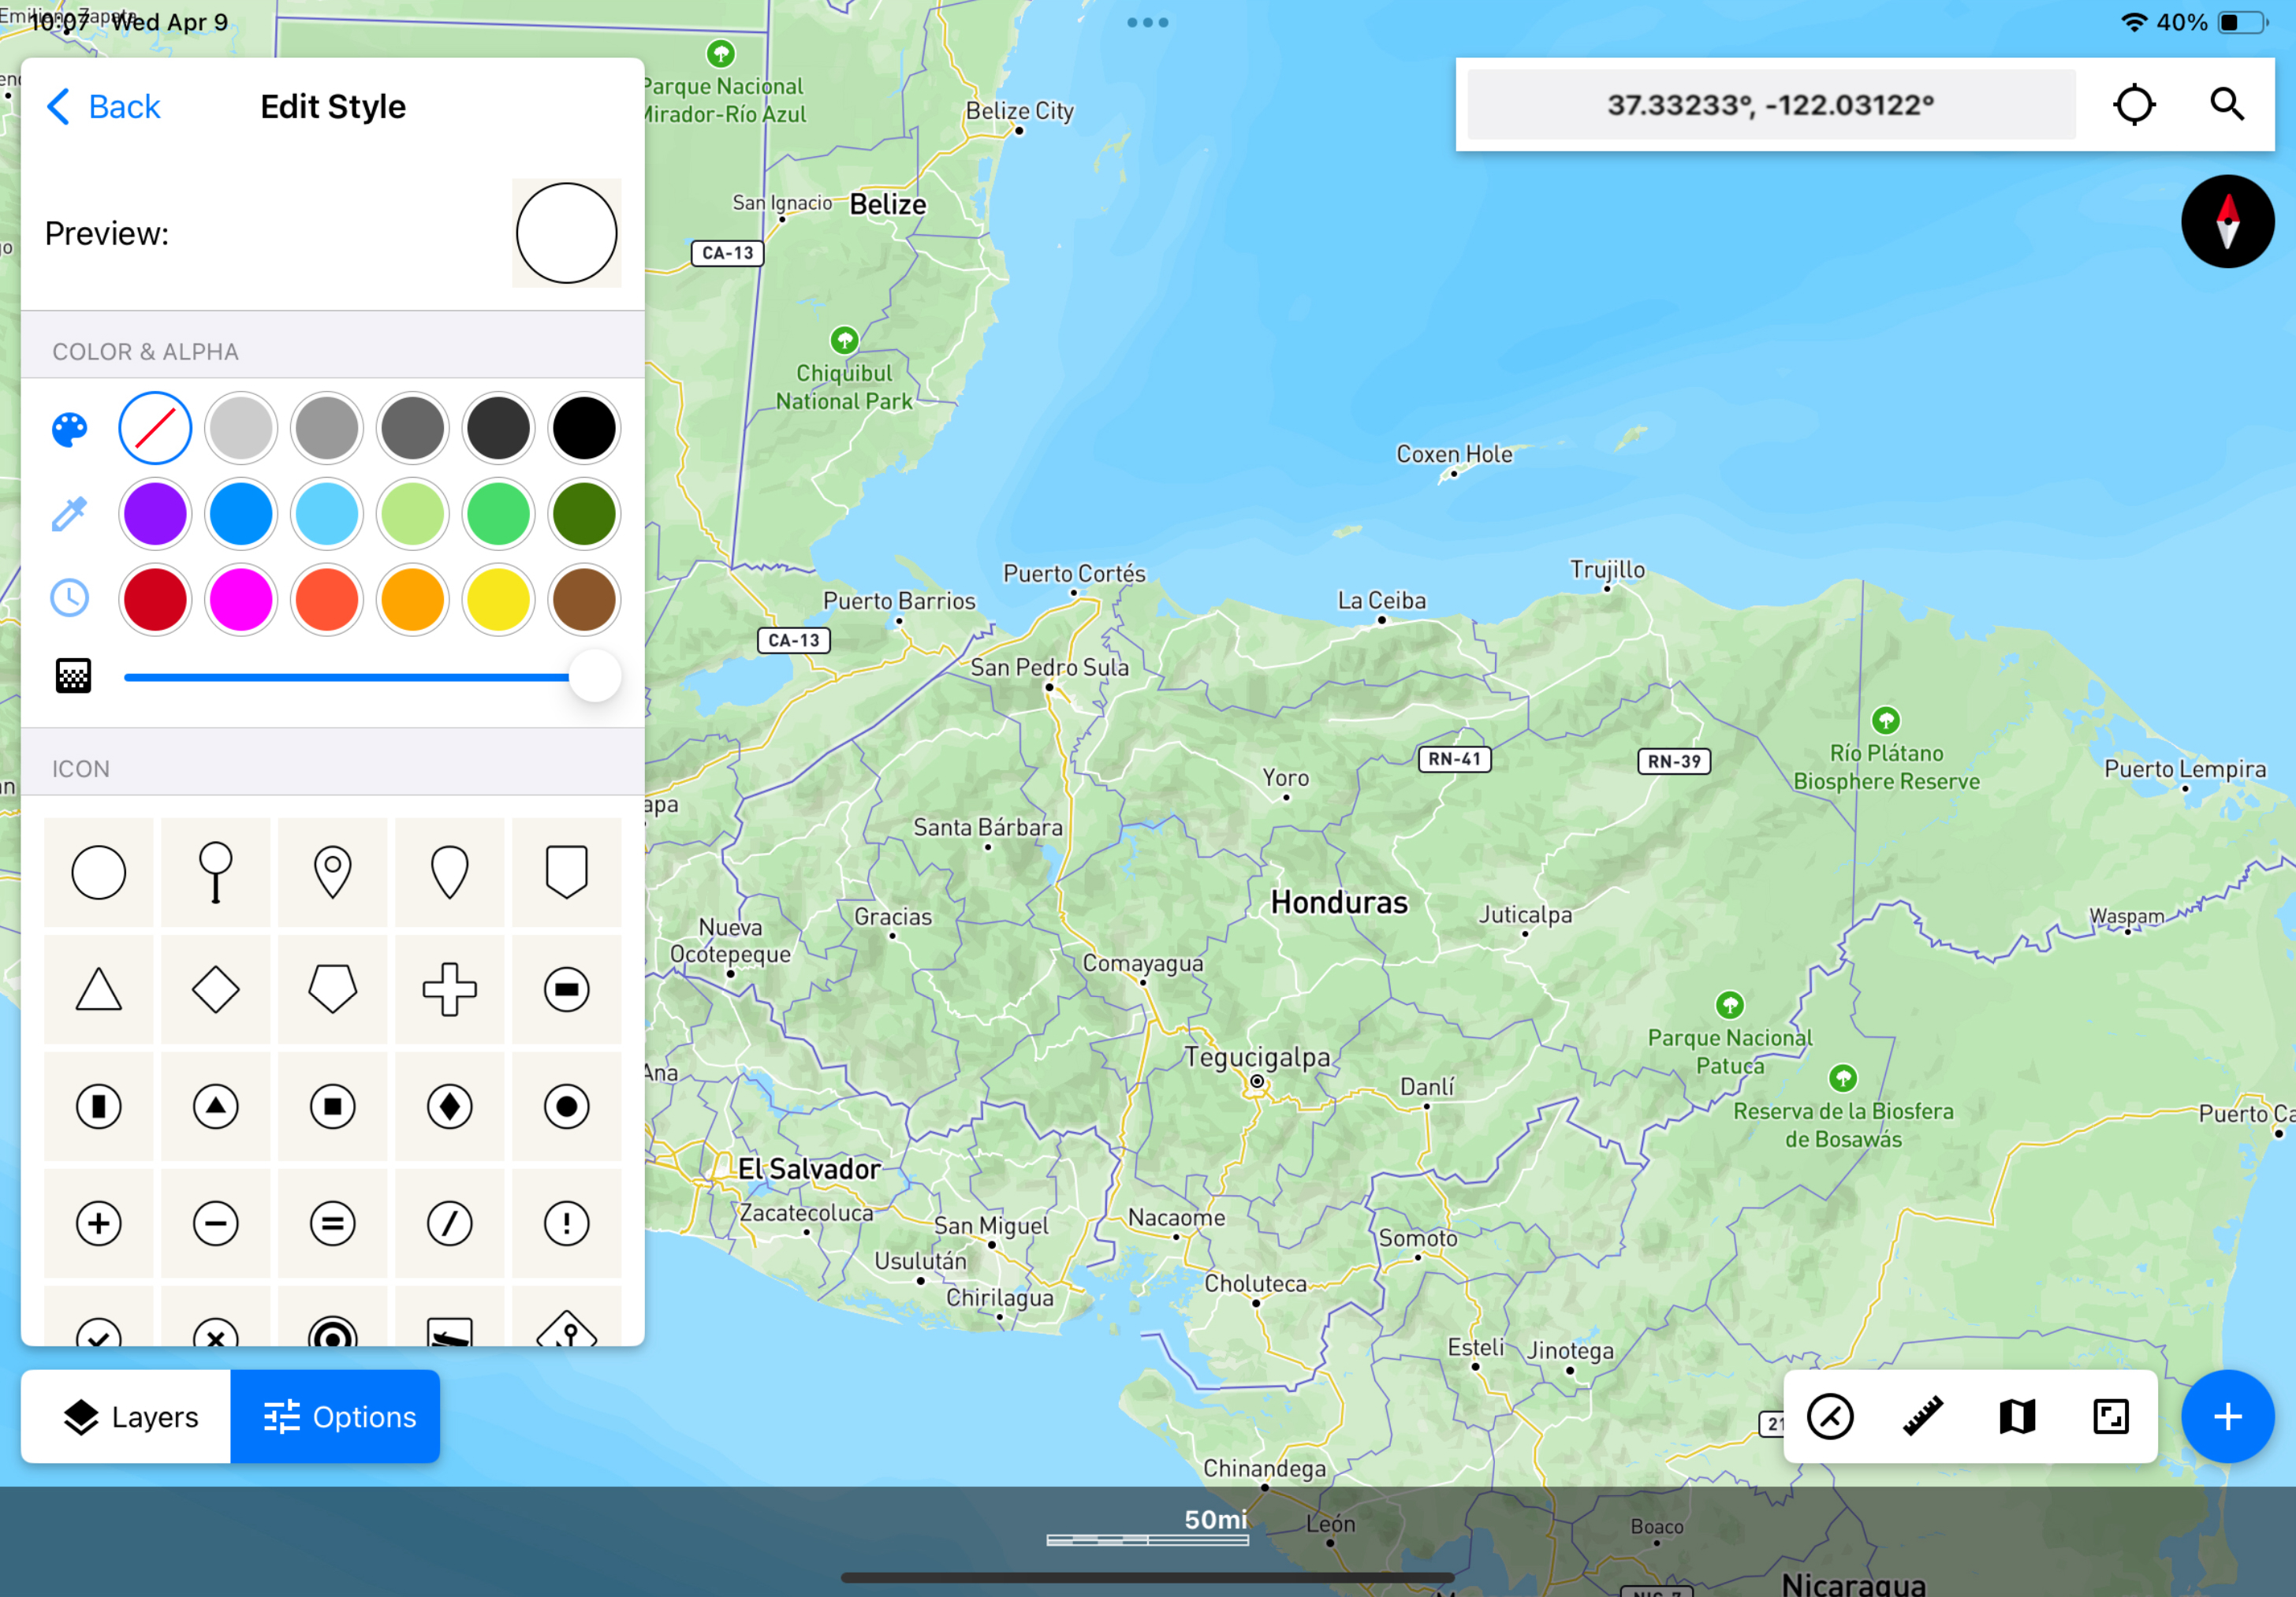
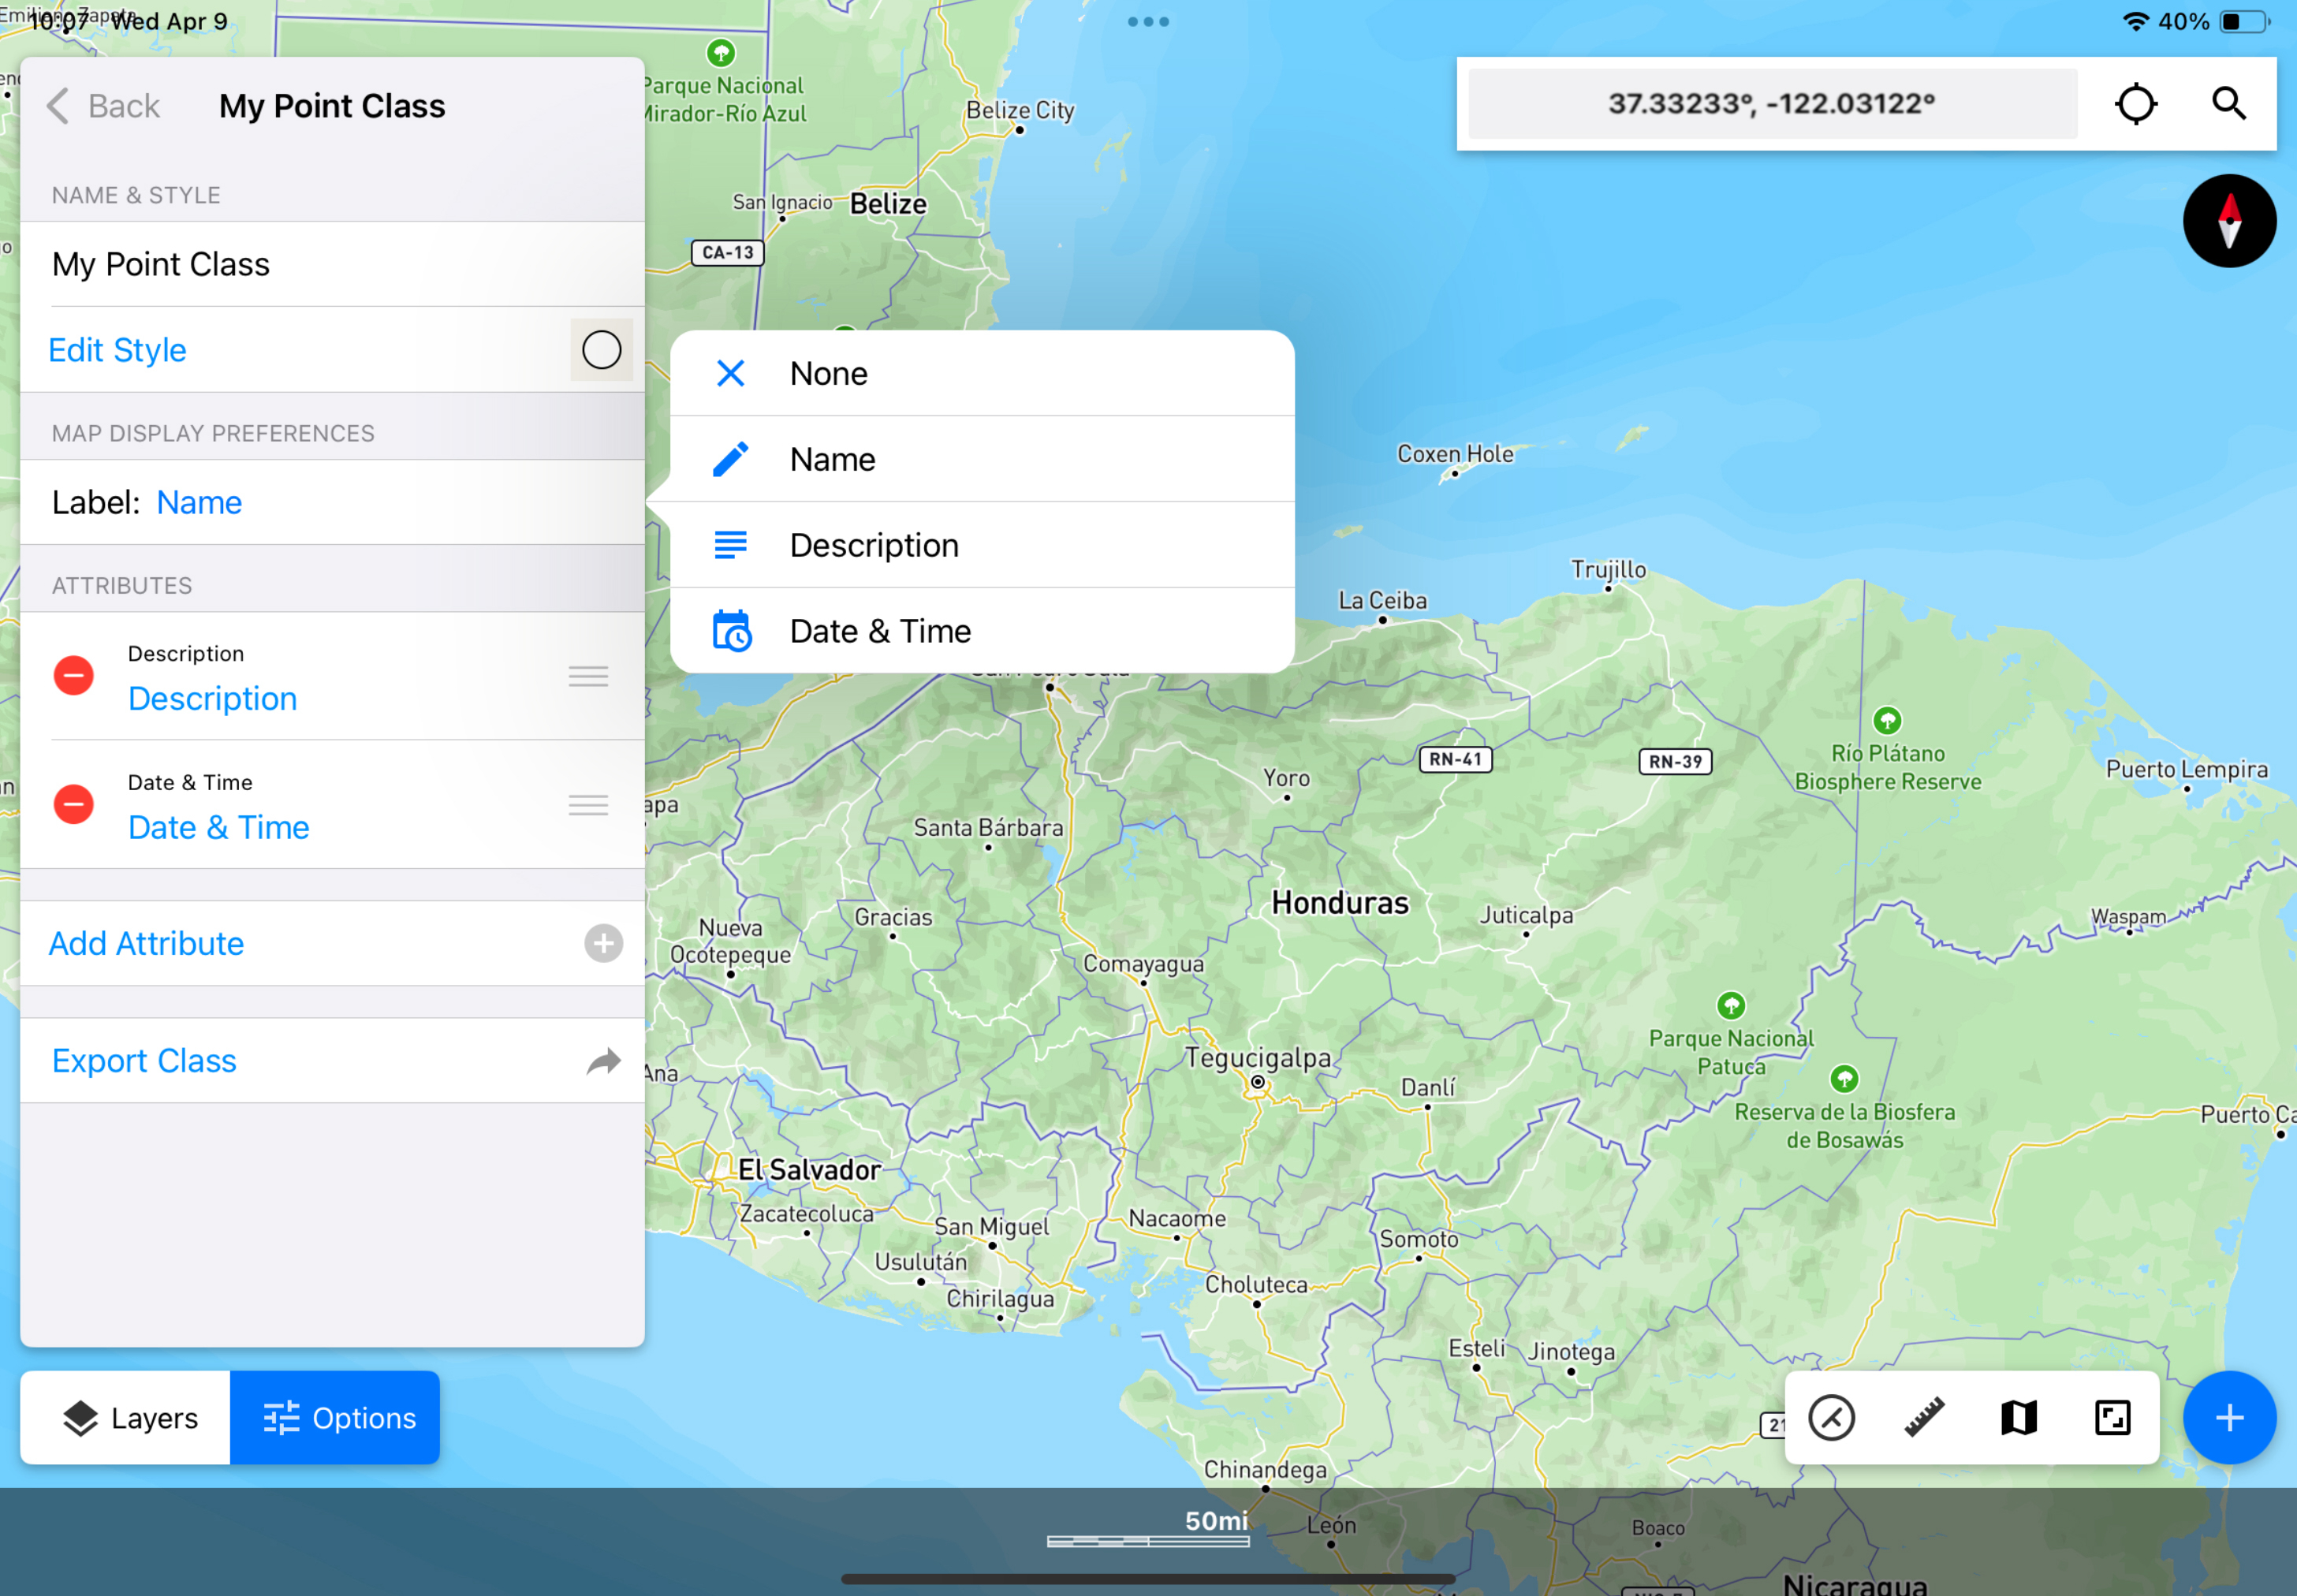
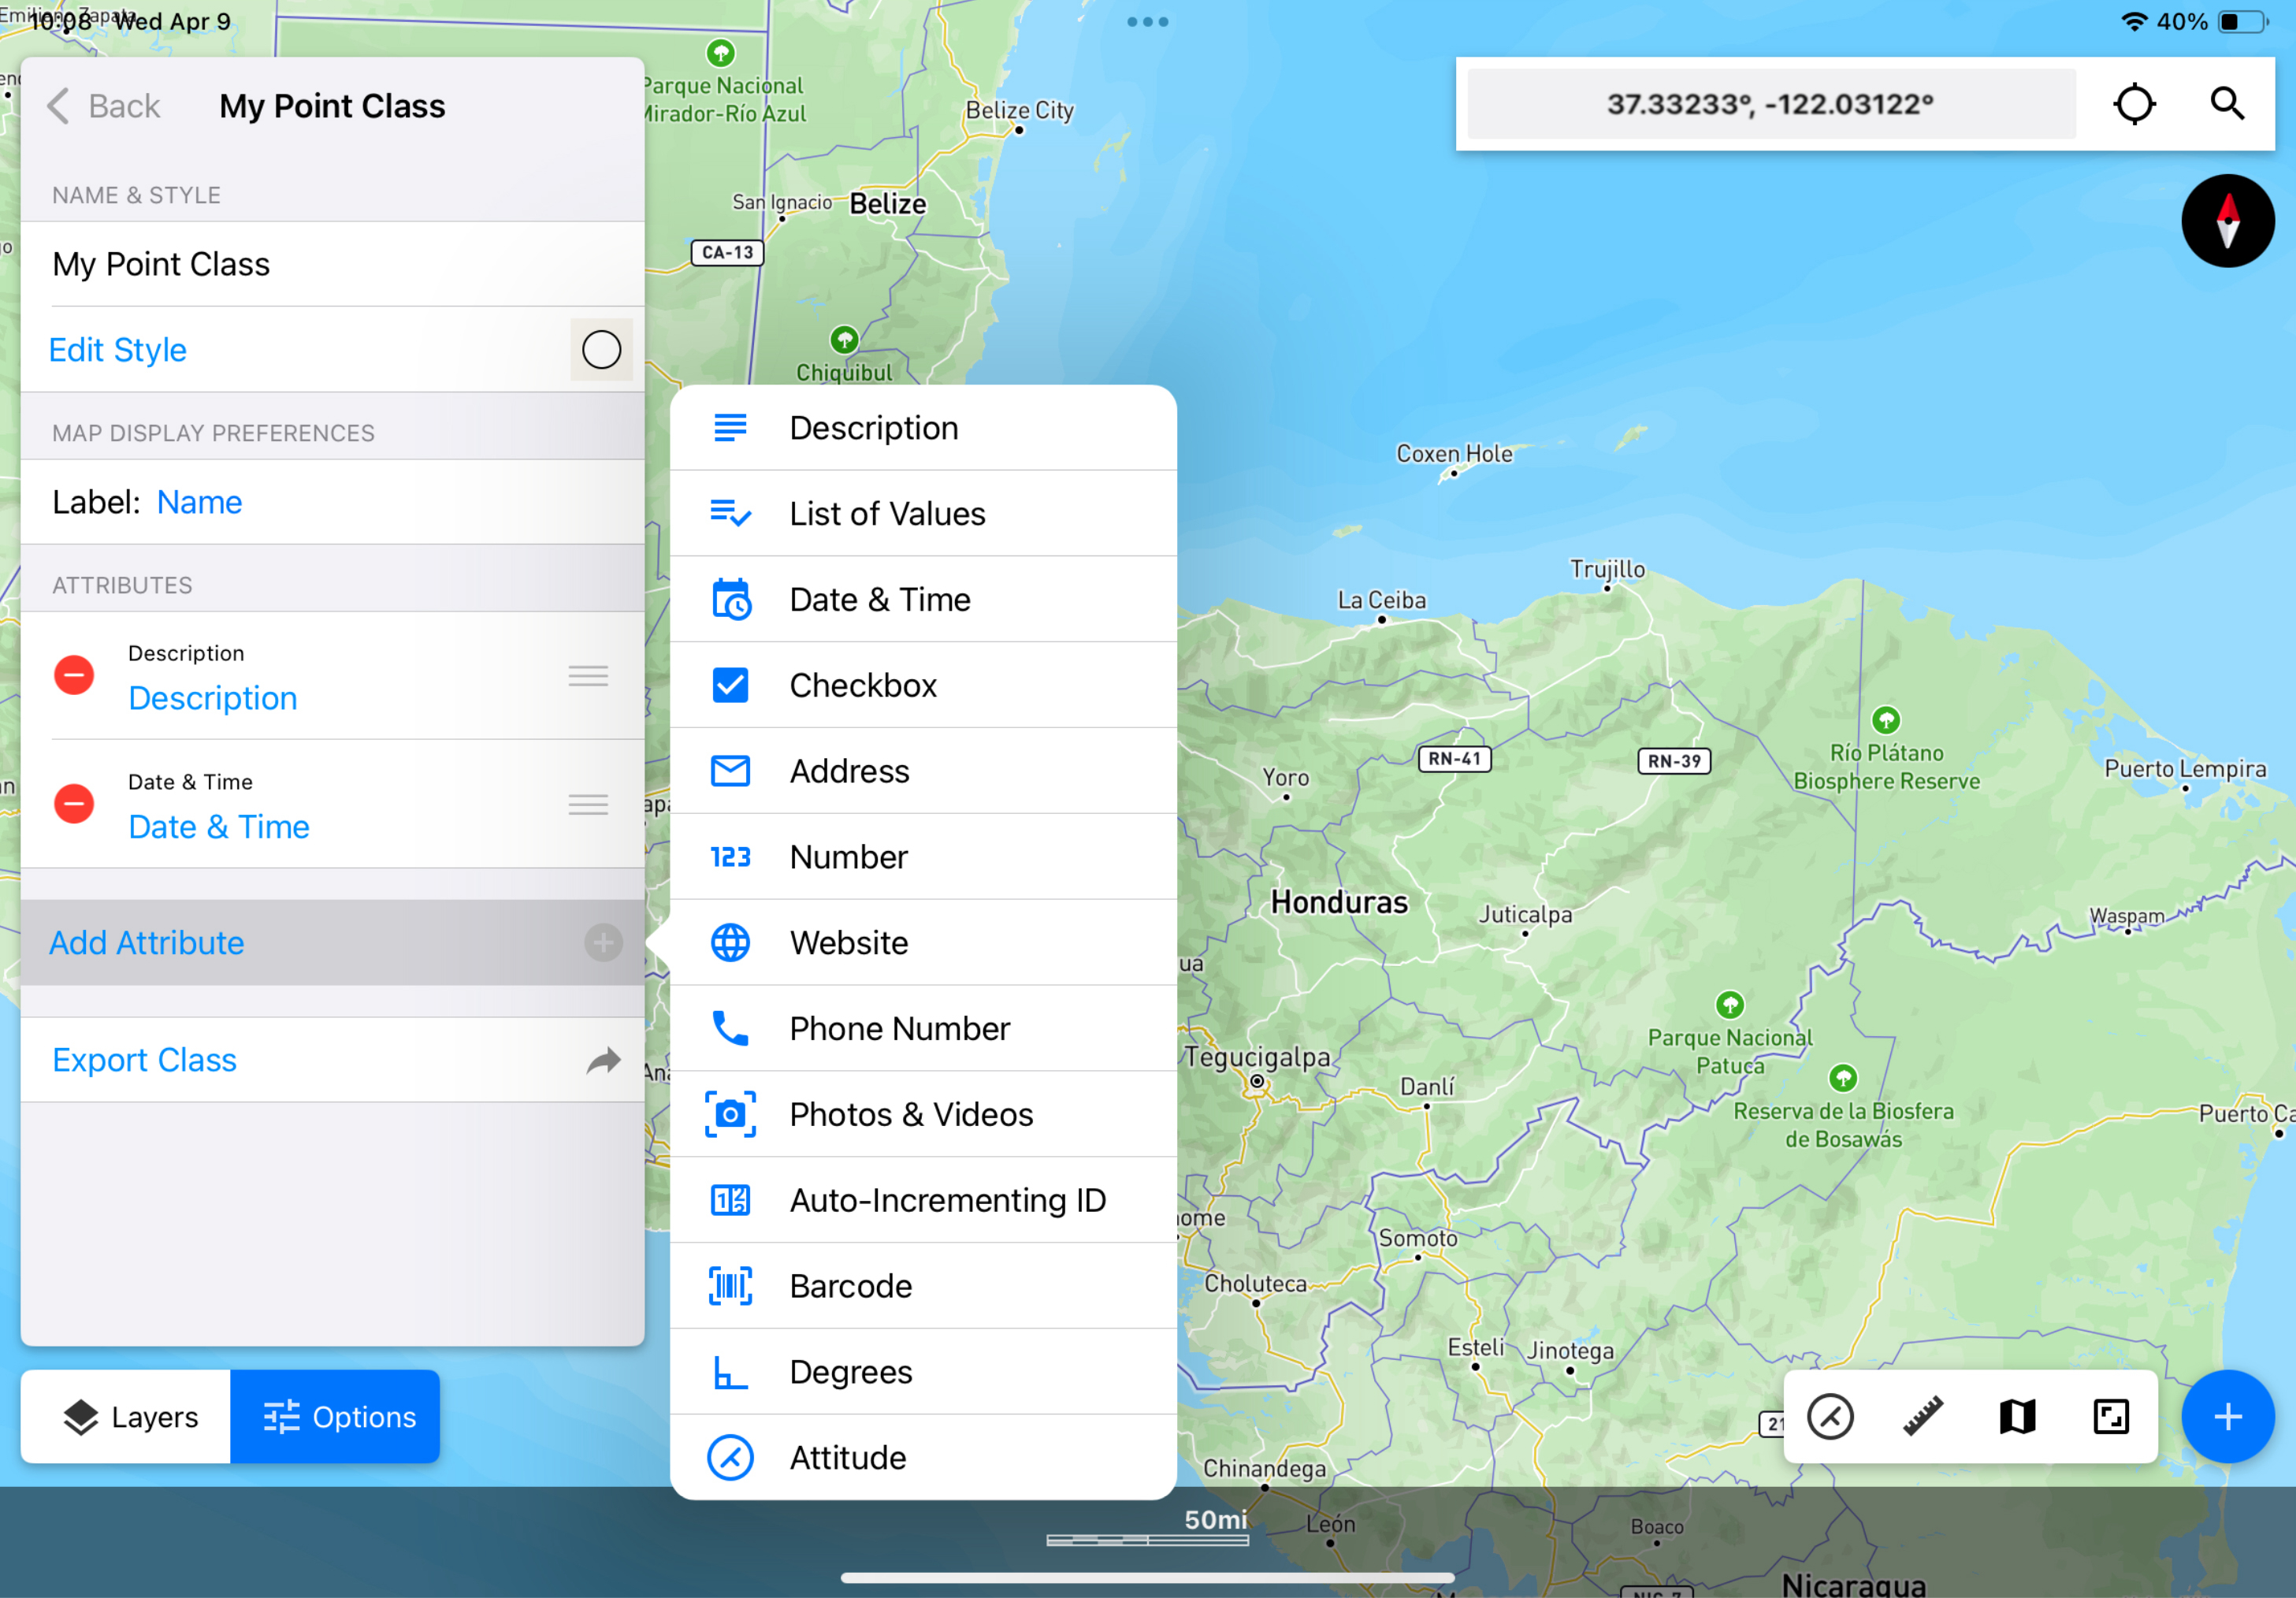
For example, after tapping “New Point Class” and giving this Point Class a name, you can edit the style of the point, choose how the point shows up on the map in your project, and add custom attributes to associate with this point.

Screenshot of Touch GIS interface showing an “Enter Name” dialogue box with “My Point Class” text input
Begin by giving your custom Point Class a name.
Screenshot of Touch GIS interface with Edit Style showing in the Options Panel
After naming your custom Point Class, tap “Edit Style” to choose the color and icon style for this Point Class.
Screenshot of the Touch GIS interface with My Point Class showing in the Options Panel and an additional dialogue box showing Map Display Preferences: None, Name, Description, Date & Time
Tap “Name” under Map Display Preferences to select the information you want a point to display when placed on the map in your project.
Screenshot of the Touch GIS interface with My Point Class showing in the Options Panel and an additional dialogue box showing Add Attribute preferences: Description, List of Values, Date & Time, Checkbox, Address, Number, Website, Phone Number, Photos & Videos, Auto-Incrementing ID, Barcode, Degrees, Attitude
Tap “Add Attribute” to add different types of information to associate with a point on the map in your project.

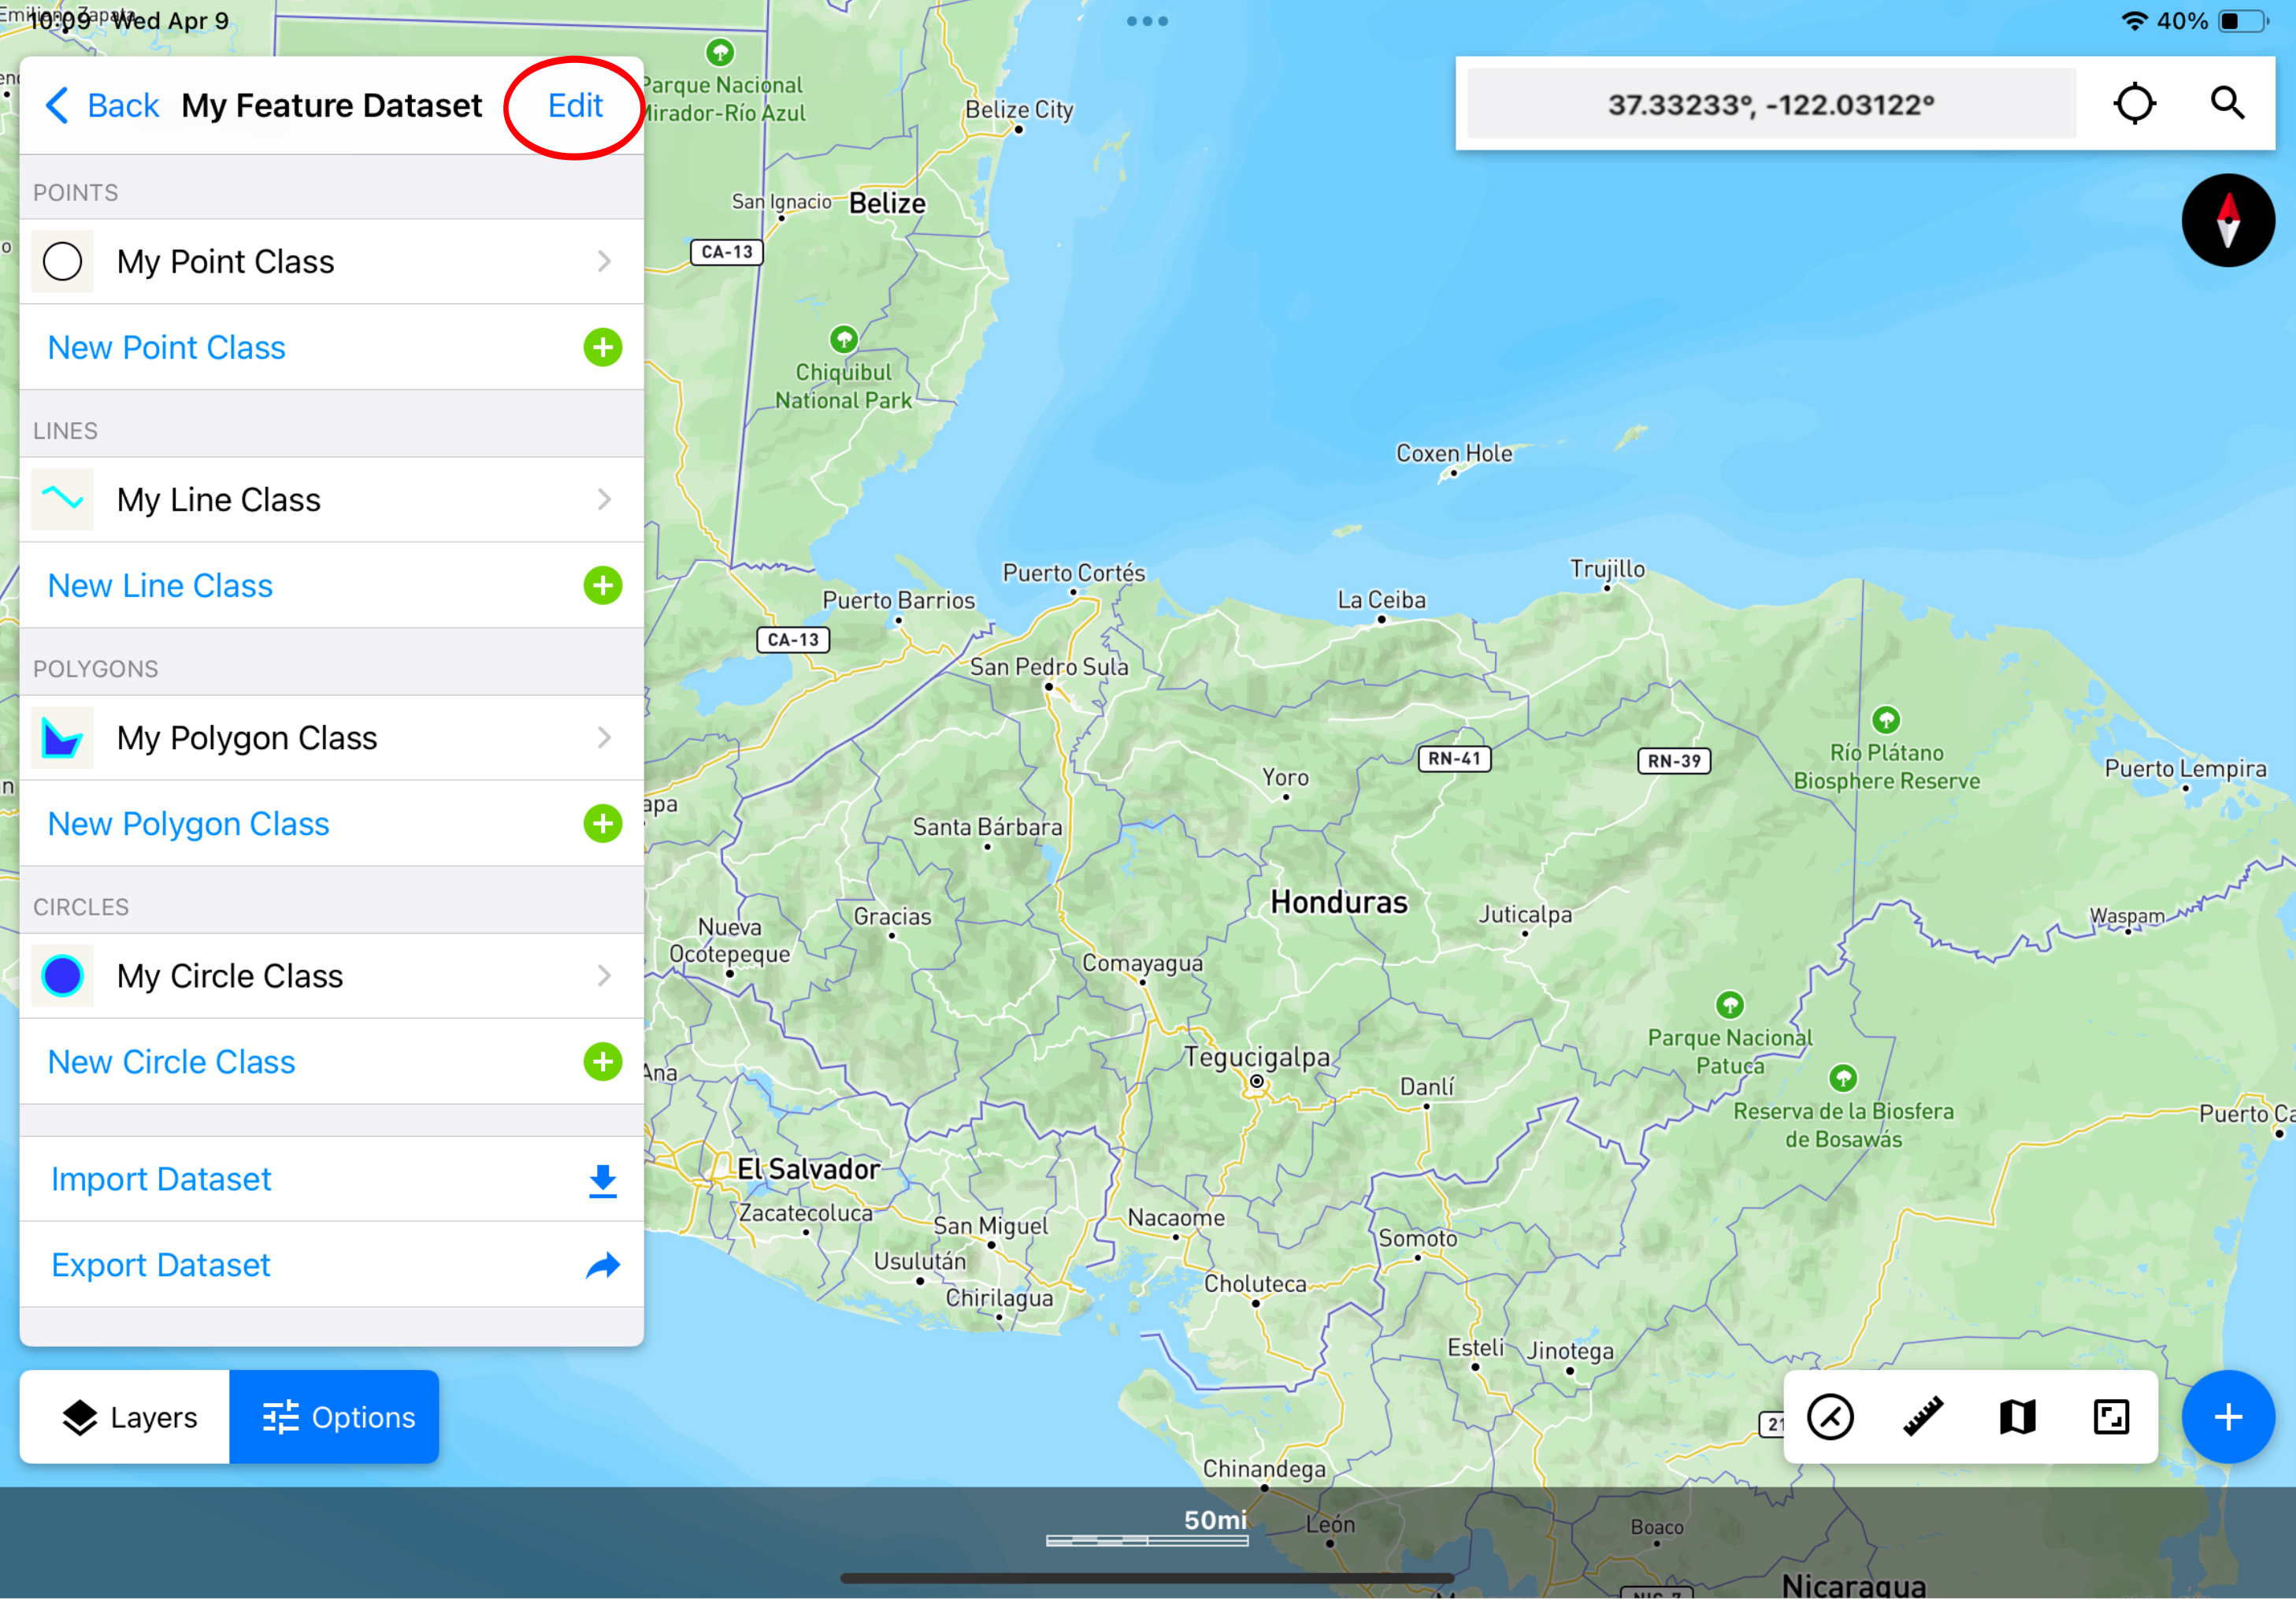
Want to delete or reorder classes in your Feature Class Dataset? Tap the “Edit” button in the top right corner of the Options Panel.

Screenshot of the Touch GIS interface with My Feature Dataset showing in the Options Panel and the Edit button circled in red
Tap “Edit” to make changes to how your Point, Line, Polygon, and Circle classes show up in your feature dataset.
Screenshot of the Touch GIS interface with My Feature Dataset showing editable Point, Line, Polygon, and Circle classes in the Options Panel
Tap and drag the three lines on the right to reorder your custom feature classes, or tap the red circle to delete a class.

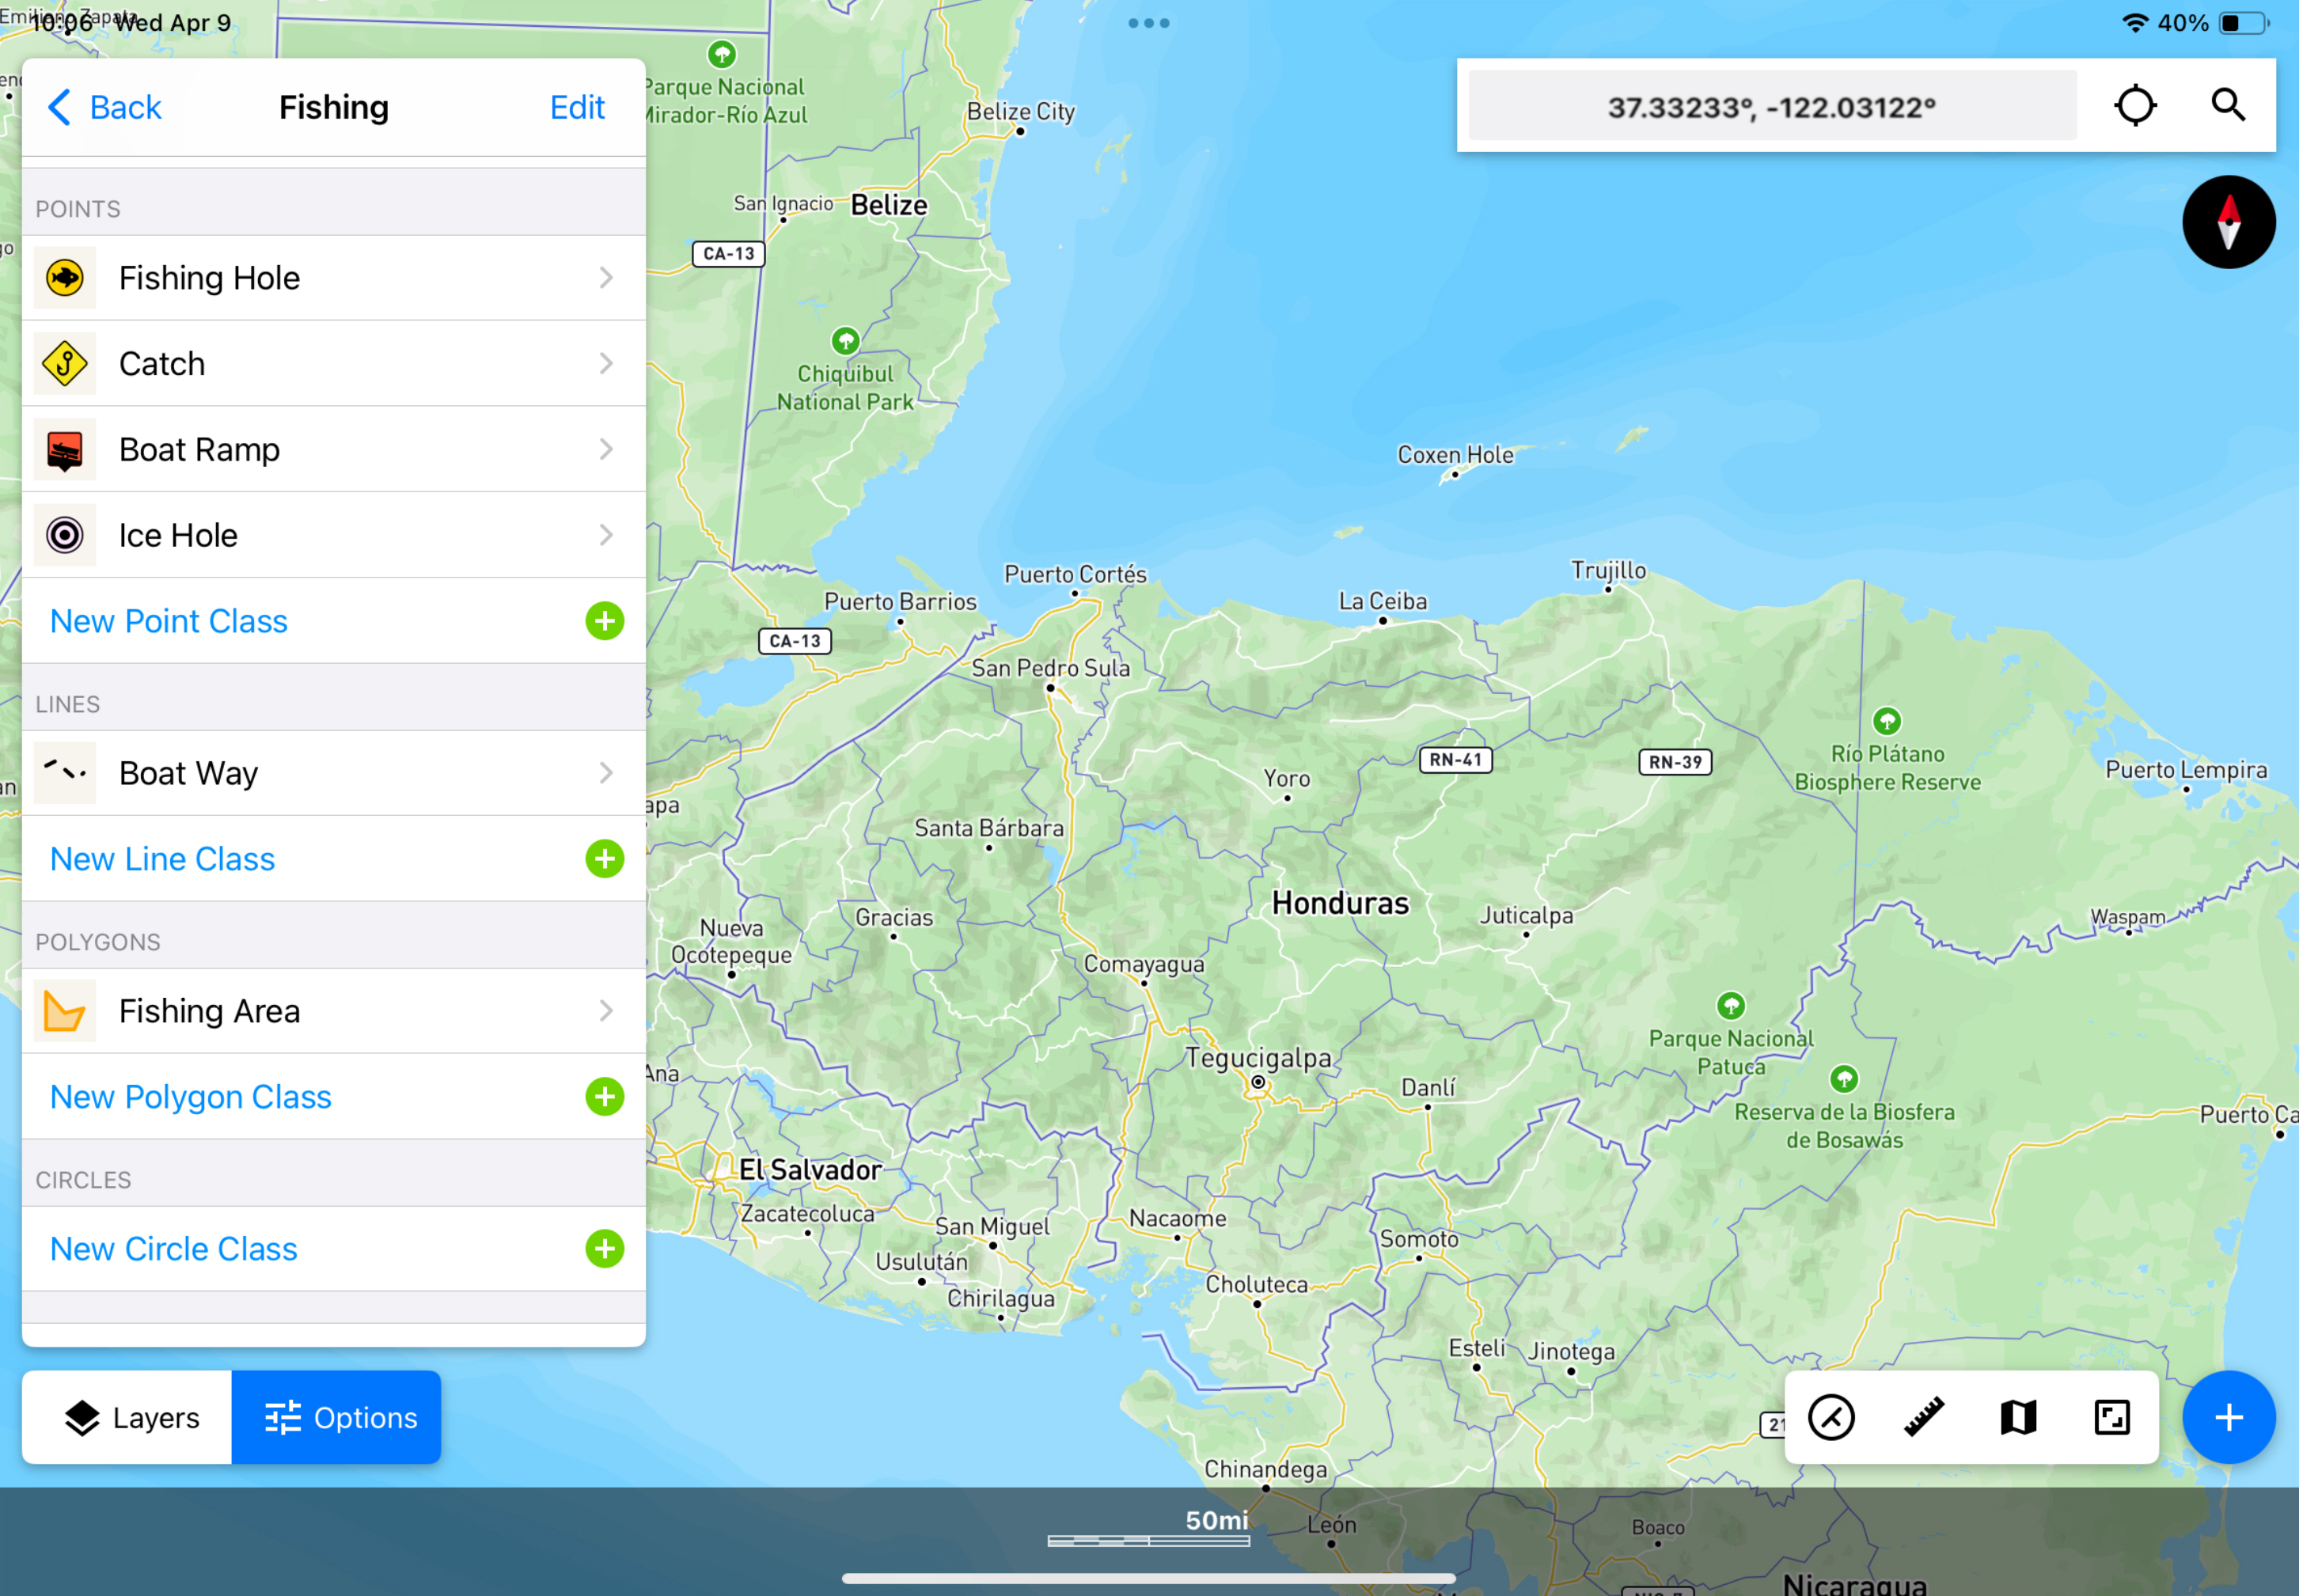
You can also augment existing Feature Class Datasets to add your own custom points, lines, circles, and polygons.

Screenshot of the Touch GIS interface with the Fishing Feature Class shown in the Options Panel
Tap New Point, Line, Polygon, or Circle Class within any Feature Class Dataset to add custom classes to already existing datasets.

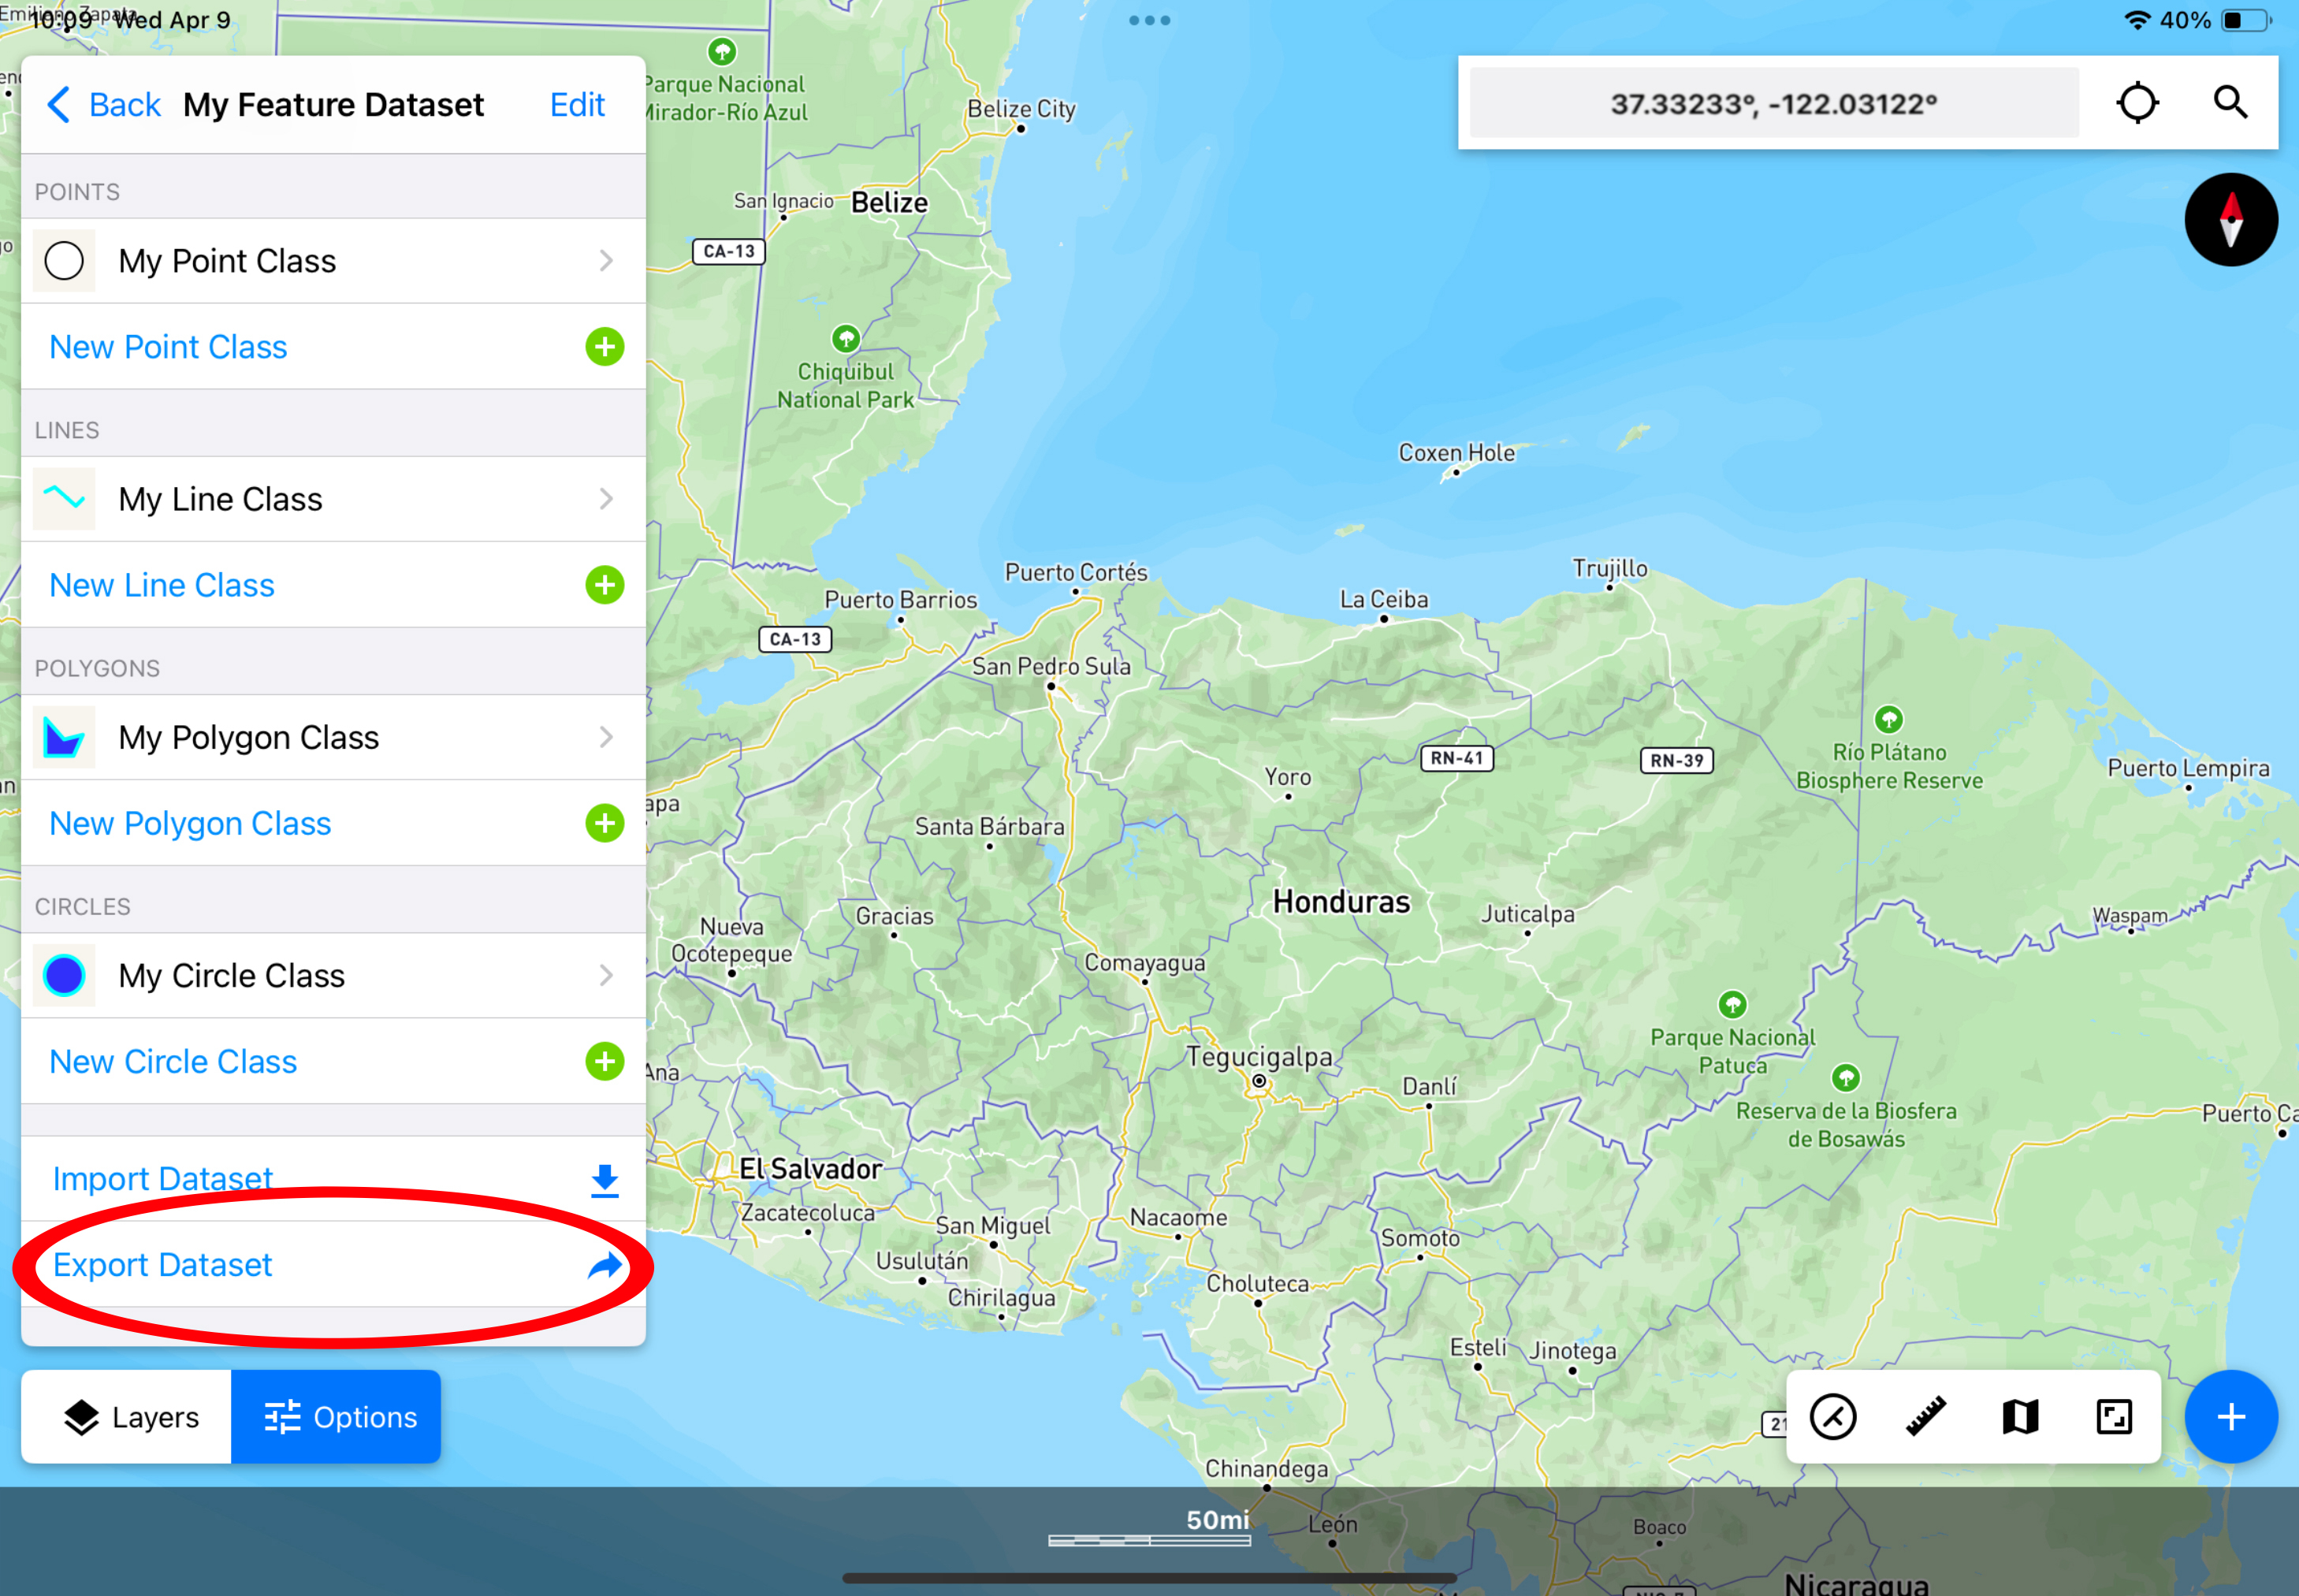
Have you created a Feature Class Dataset that you want to share with your team? Navigate to that set and tap “Export Dataset.” This will create an .fcd file that can be shared with others.

Screenshot of the Touch GIS interface with My Feature Dataset shown in the Options Panel and the Export Dataset button circled in red
Tap Export Dataset to share a custom Feature Dataset via a .fcd file.

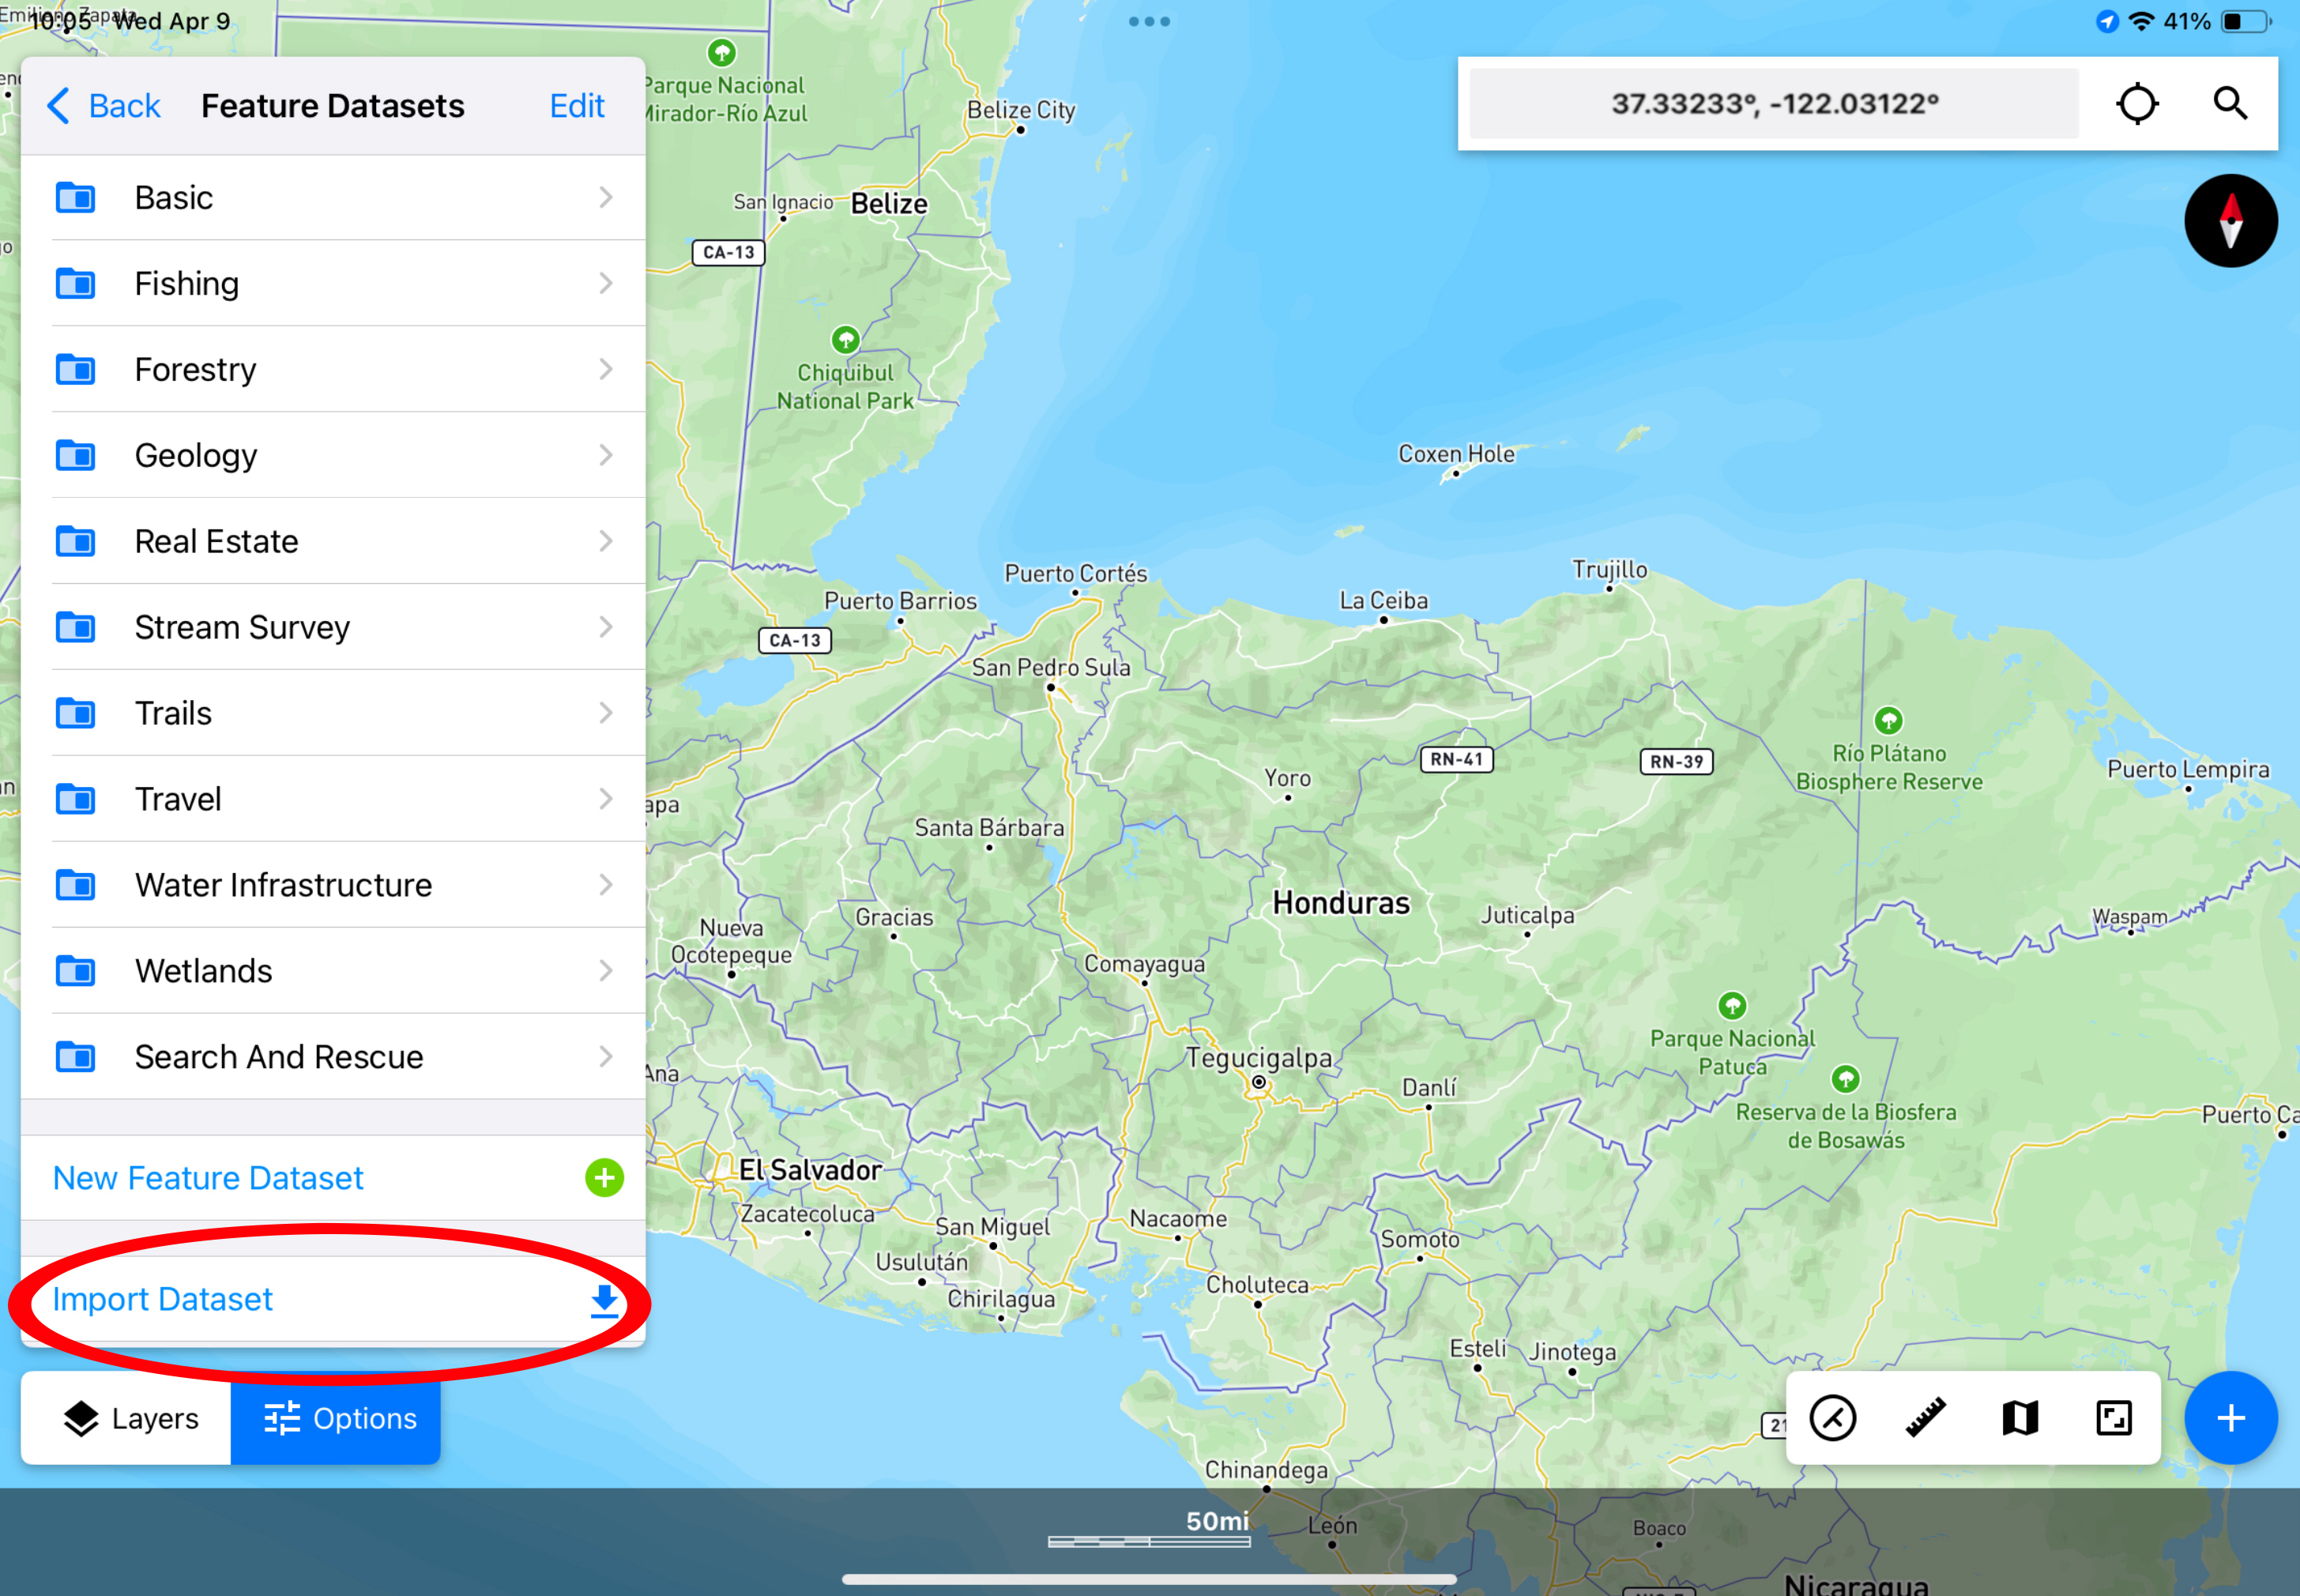
To import an .fcd file, navigate to the main Feature Class Datasets folder, tap “Import Dataset,” and select the file from your saved  documents. You can also use Import/Export to share Point, Line, Polygon, and Circle classes.

Screenshot of the Touch GIS interface with Feature Datasets shown in the Options Panel and the Import Dataset button circled in red
Tap Import Dataset to import a Feature Dataset from a .fcd.

Need help adding points, line, polygons, or circles? Check out this blog on drawing tools or head over to our user guide. Did we miss something in feature classes? Let us know by emailing us at blog@touchgis.app.